Minky as Quilt Backings
Minky! The softest, smoothest, most pain in the butt on a longarm, fabric for a quilt backing. HA! We love it and hate it and would like to share with you all our thoughts on working with minky as a quilt backing. This post is gonna get long so I’ve got some bullet points here up top for quick reference, and then the deep dive below. As always, feel free to reach out with any questions.
Thinking about other winter quilt backings? Check out our Microfiber Blanket and Flannel blog posts here, as well as our comparison chart post here!
Super simple:
-Yes, TCQ will work with smooth, printed, and some textured minkys such as faux fur.
-TCQ strongly prefers not to work with minky dot or extra thick piles like sherpa minky
-Double check with your preferred longarmer to see about their preferences.
-Avoid piecing minky.
-Panto choices can be limited.
-Match thread color to backing color.
-Be cool with imperfections.
Ready for more??
All minky has several things in common but I’d like to mention a few things up front as they are worth knowing and considering, but don’t really impact the longarming aspect once I start breaking things down. First, minky sheds like crazy when cut. So. Much. Shedding. We limit the need for trimming and usually run the vacuum AS we are doing it. If you’ve sent me a minky quilt backing, I’ve definitely run my vacuum cleaner over it. The fibers can get everywhere and it’s likely your quilt will be a little linty when it comes home. We encourage you to be cognizant of this before packing your minky and sending it our way. A quick vacuum or shake out can go a long way to prevent us from having to vacuum while opening your package and from sharing your minky fibers with the other quilts in the studio.
The good news is it only sheds when cut and doesn’t pill over time. This means once the cutting is over and cleaned up, you are free and clear of obvious fibers floating around. However, minky is polyester so it does shed microplastics as you use and wash it. There are certainly better choices for quilt backings when considering the environment. In addition to that, it will melt in a fire. These can be things to consider if you will be washing the quilt frequently or using it for bedding.
Minky is heavier than other common quilt backings which make make for a nice weighted blanket. Couple that with the softness and minky can be a dream backing for a neurodivergent individual who is responsive to textures and feeling secure. This weight also helps with warmth making batting optional. Most of my clients still use batting, but some skip it. Batting helps keep the backing fibers from pulling through to the front of the quilt and gives it extra weight and warmth. Skipping the batting keeps it lighter for more year round use and it will have a better drape. If you decide to skip the batting, consider using a layer of white quilting cotton between the backing and quilt top to minimize darker colors of the backing from distorting lighter colors in the quilt top.
In my experience it is not necessary to pre-wash minky. Because it is made from polyester it will not shrink and tends to be fairly colorfast in normal washing conditions. However, it is important to know how to care for minky once it is part of your quilt. If you have care instructions, great. In general, though, stick with cool temperatures when washing and drying. If you can let it air dry, even better. Super high heat, particularly in a dryer, can shrink, melt or distort the fibers.
We are very close to breaking down a few different types of minky. But first, and very much at the risk of overexplaining - (stick with me here) - you might find it helpful to know that a longarm machine is designed with the understanding that the backing fabric will be the stabilizing base of the whole project. Think of it as the table top on which you will build the quilt. Once the backing is attached to the machine, it is cranked taut. We then lay the batting (if needed) on top, and then the quilt top. The goal is that these three layers are held smooth with about the same amount of tension, so when they come off the machine as one connected unit, no layer relaxes more than the others keeping things smooth and even. The more stretch a backing has, the more challenging and problematic this becomes.
I think this is helpful when we are considering a fabric like minky as much of it has significant stretch which can impact how/if we can use it. Most of the minky issues encountered on a longarm, stem from this stretch. However, not all minky is created equal and there are some types we love and some we strongly discourage. Let’s dive in.
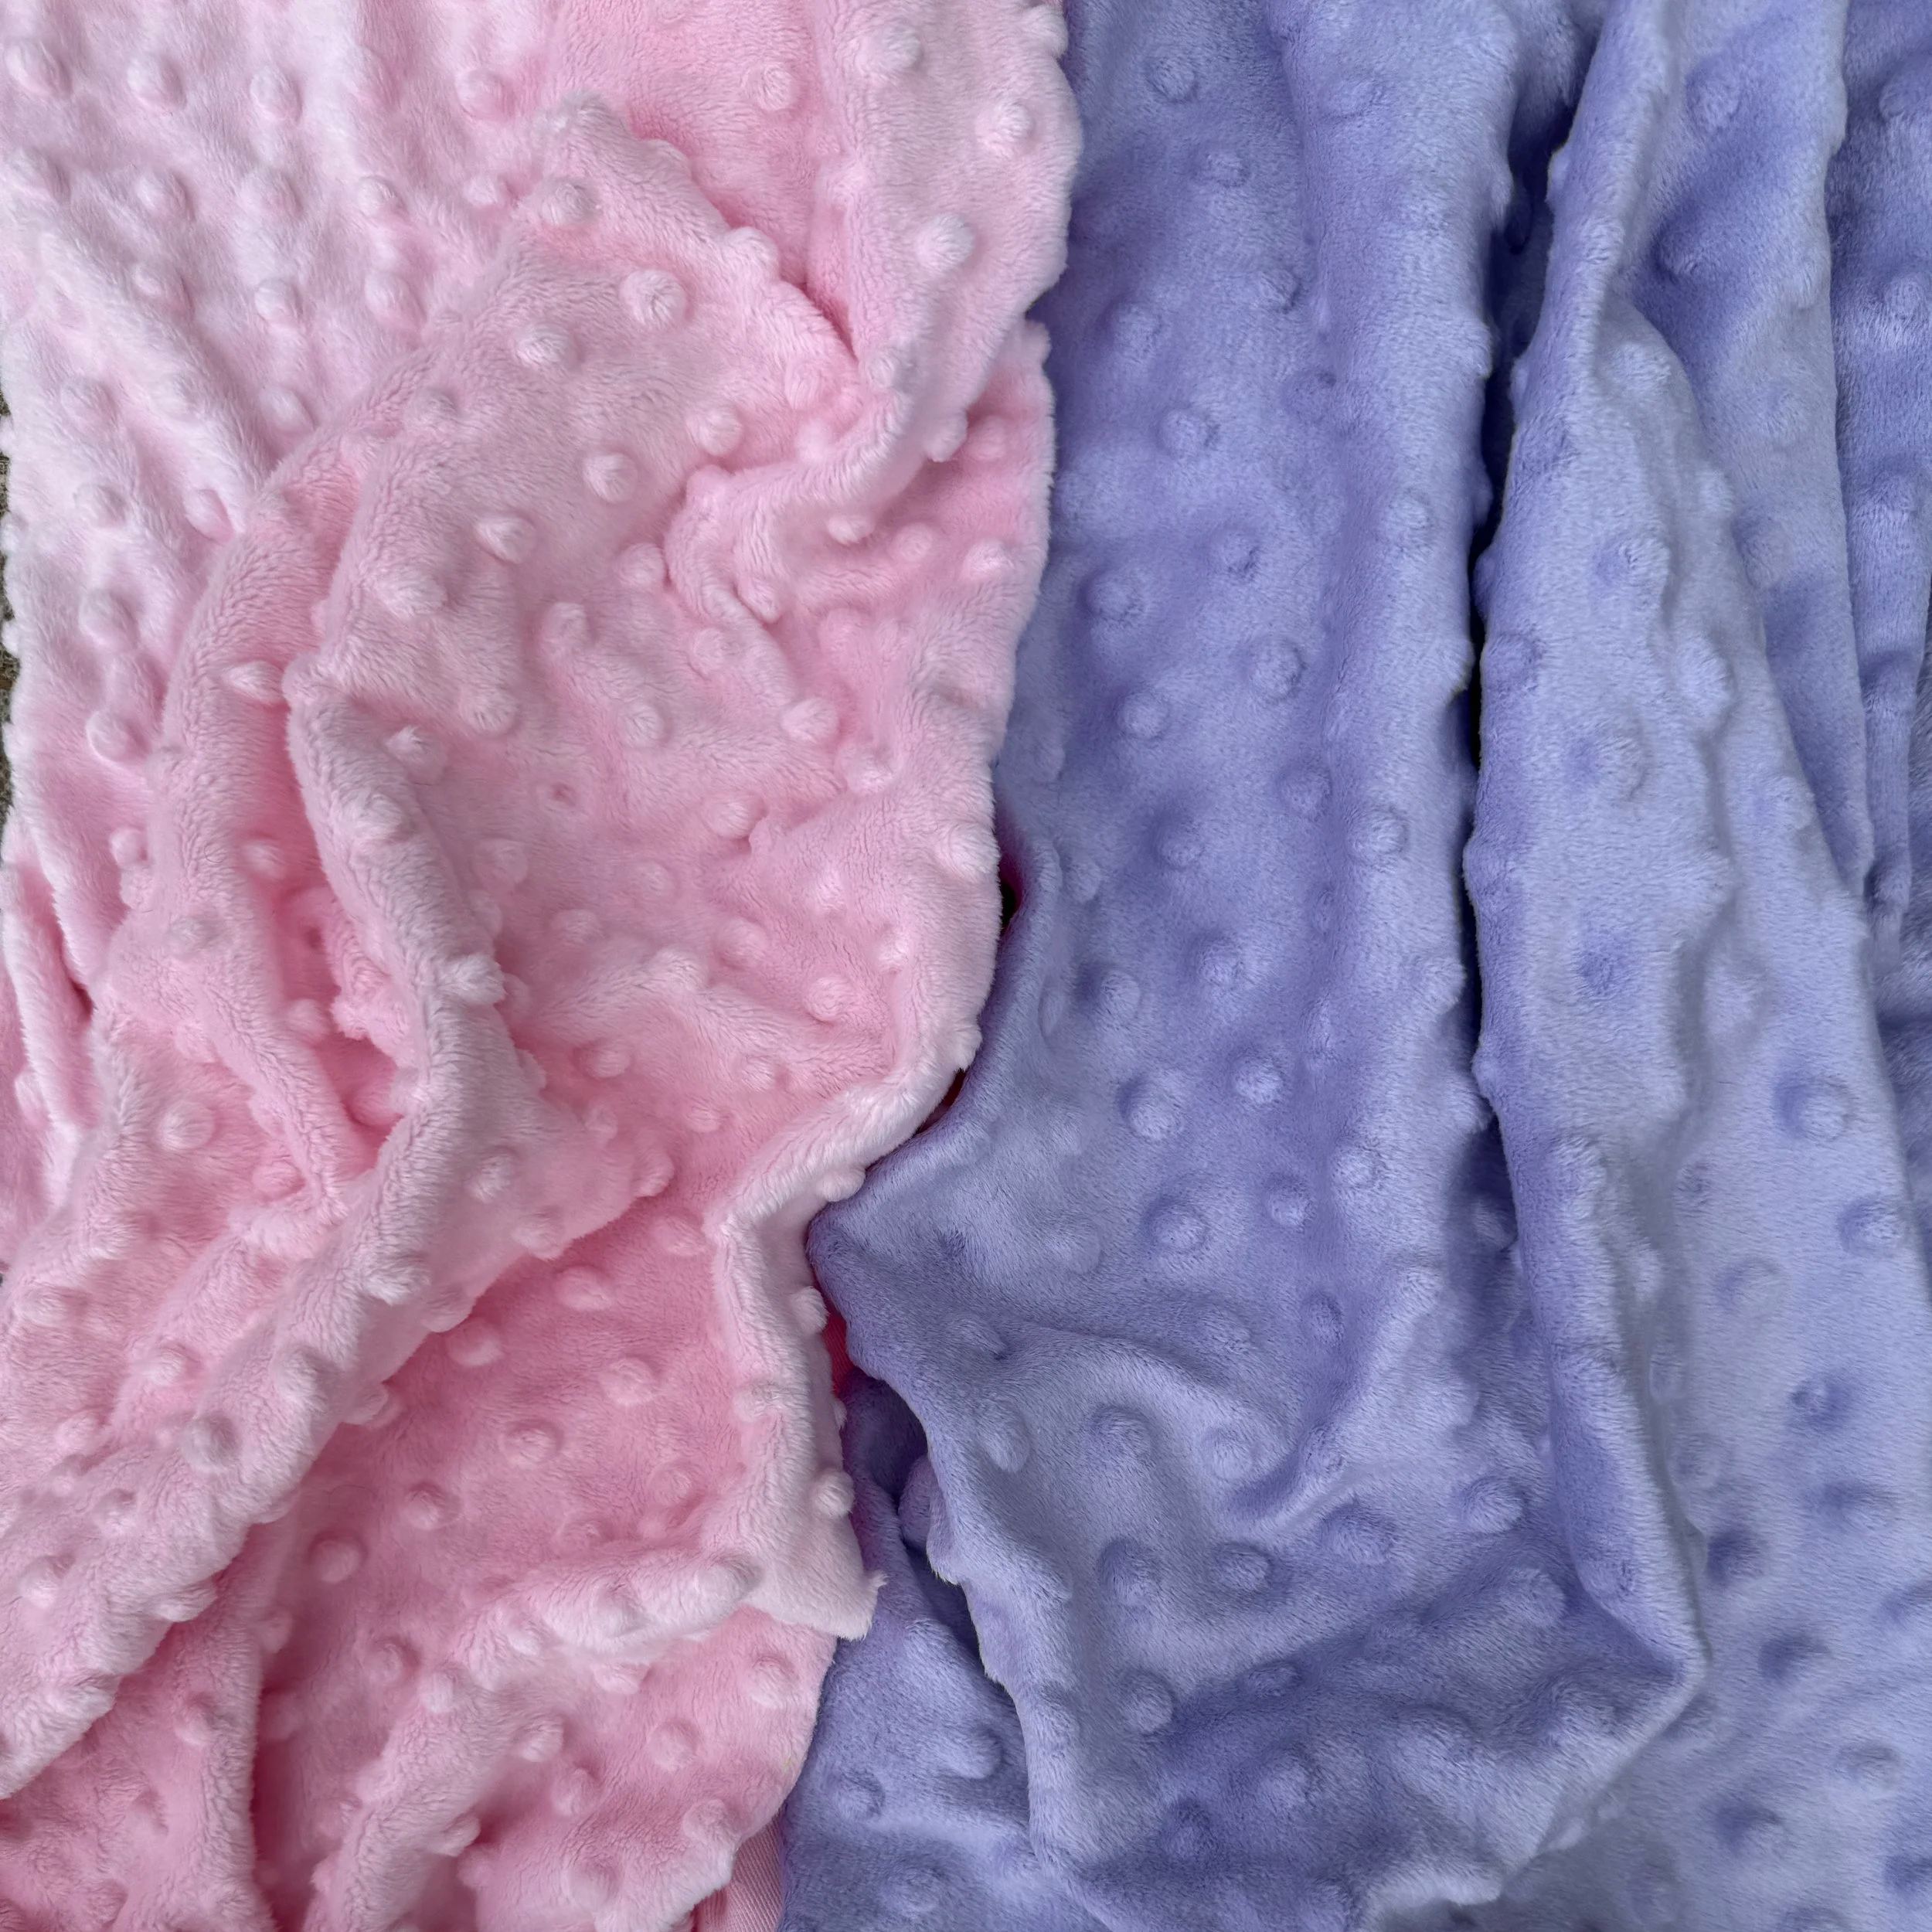
Minky Dot: Nope. So sorry, but nope. While you can find minky dot on many store bought baby blankets and it truly is delicious to the touch, it is a nightmare on a longarm. Minky dot stretches in all directions so there is no good way to load it onto a longarm machine without being set up for trouble. Common issues are distortion of the dots, pinches, puckers, the machine catching on it and stretching it, and most commonly, the quilt top and the backing not being distributed evenly causing unwanted distortion when the minky relaxes after being taken off the machine. I have yet to be satisfied with the results from minky dot and we kindly ask that you save it for a project that doesn’t require longarming at TCQ.
The other types of minky we tend to encounter are textured minkys like faux fur, smooth minky, and printed minky. These do not have the same universal stretch as minky dot and while there may be some limitations, we are happy to work with them as long as you understand the risks.
Smooth Minky is our fav and the most common type of minky we see. It has a low pile which means it is rare for the fibers to travel through to the quilt top and it is not too thick for the longarm to pass over. The solid backing is a blank canvas upon which the quilting can really shine. The texture from the quilting can also be totally divine! Smooth minky often comes in wider widths so you can potentially avoid piecing it.
However, it has significant stretch side to side so we have to load it along the raw edges with the selvages providing stability on the sides. Depending on the size and orientation of the quilt top, this may limit what pantographs can be used. Being flexible on panto selections will set us up for success. It’s also important to know that fibers CAN occasionally pull through to the quilt top. I never know when this is going to happen until we actually start quilting. The best way to avoid this is to select the lowest pile minky. The best way to camouflage this is to match the thread color to the backing. This might take some planning so you don’t end up with a super dark thread on a light quilt top.
Printed Minky is simply smooth minky with printing on it. This has all the same pros and cons except the quilting might not stand out as much amid the busyness of the print.
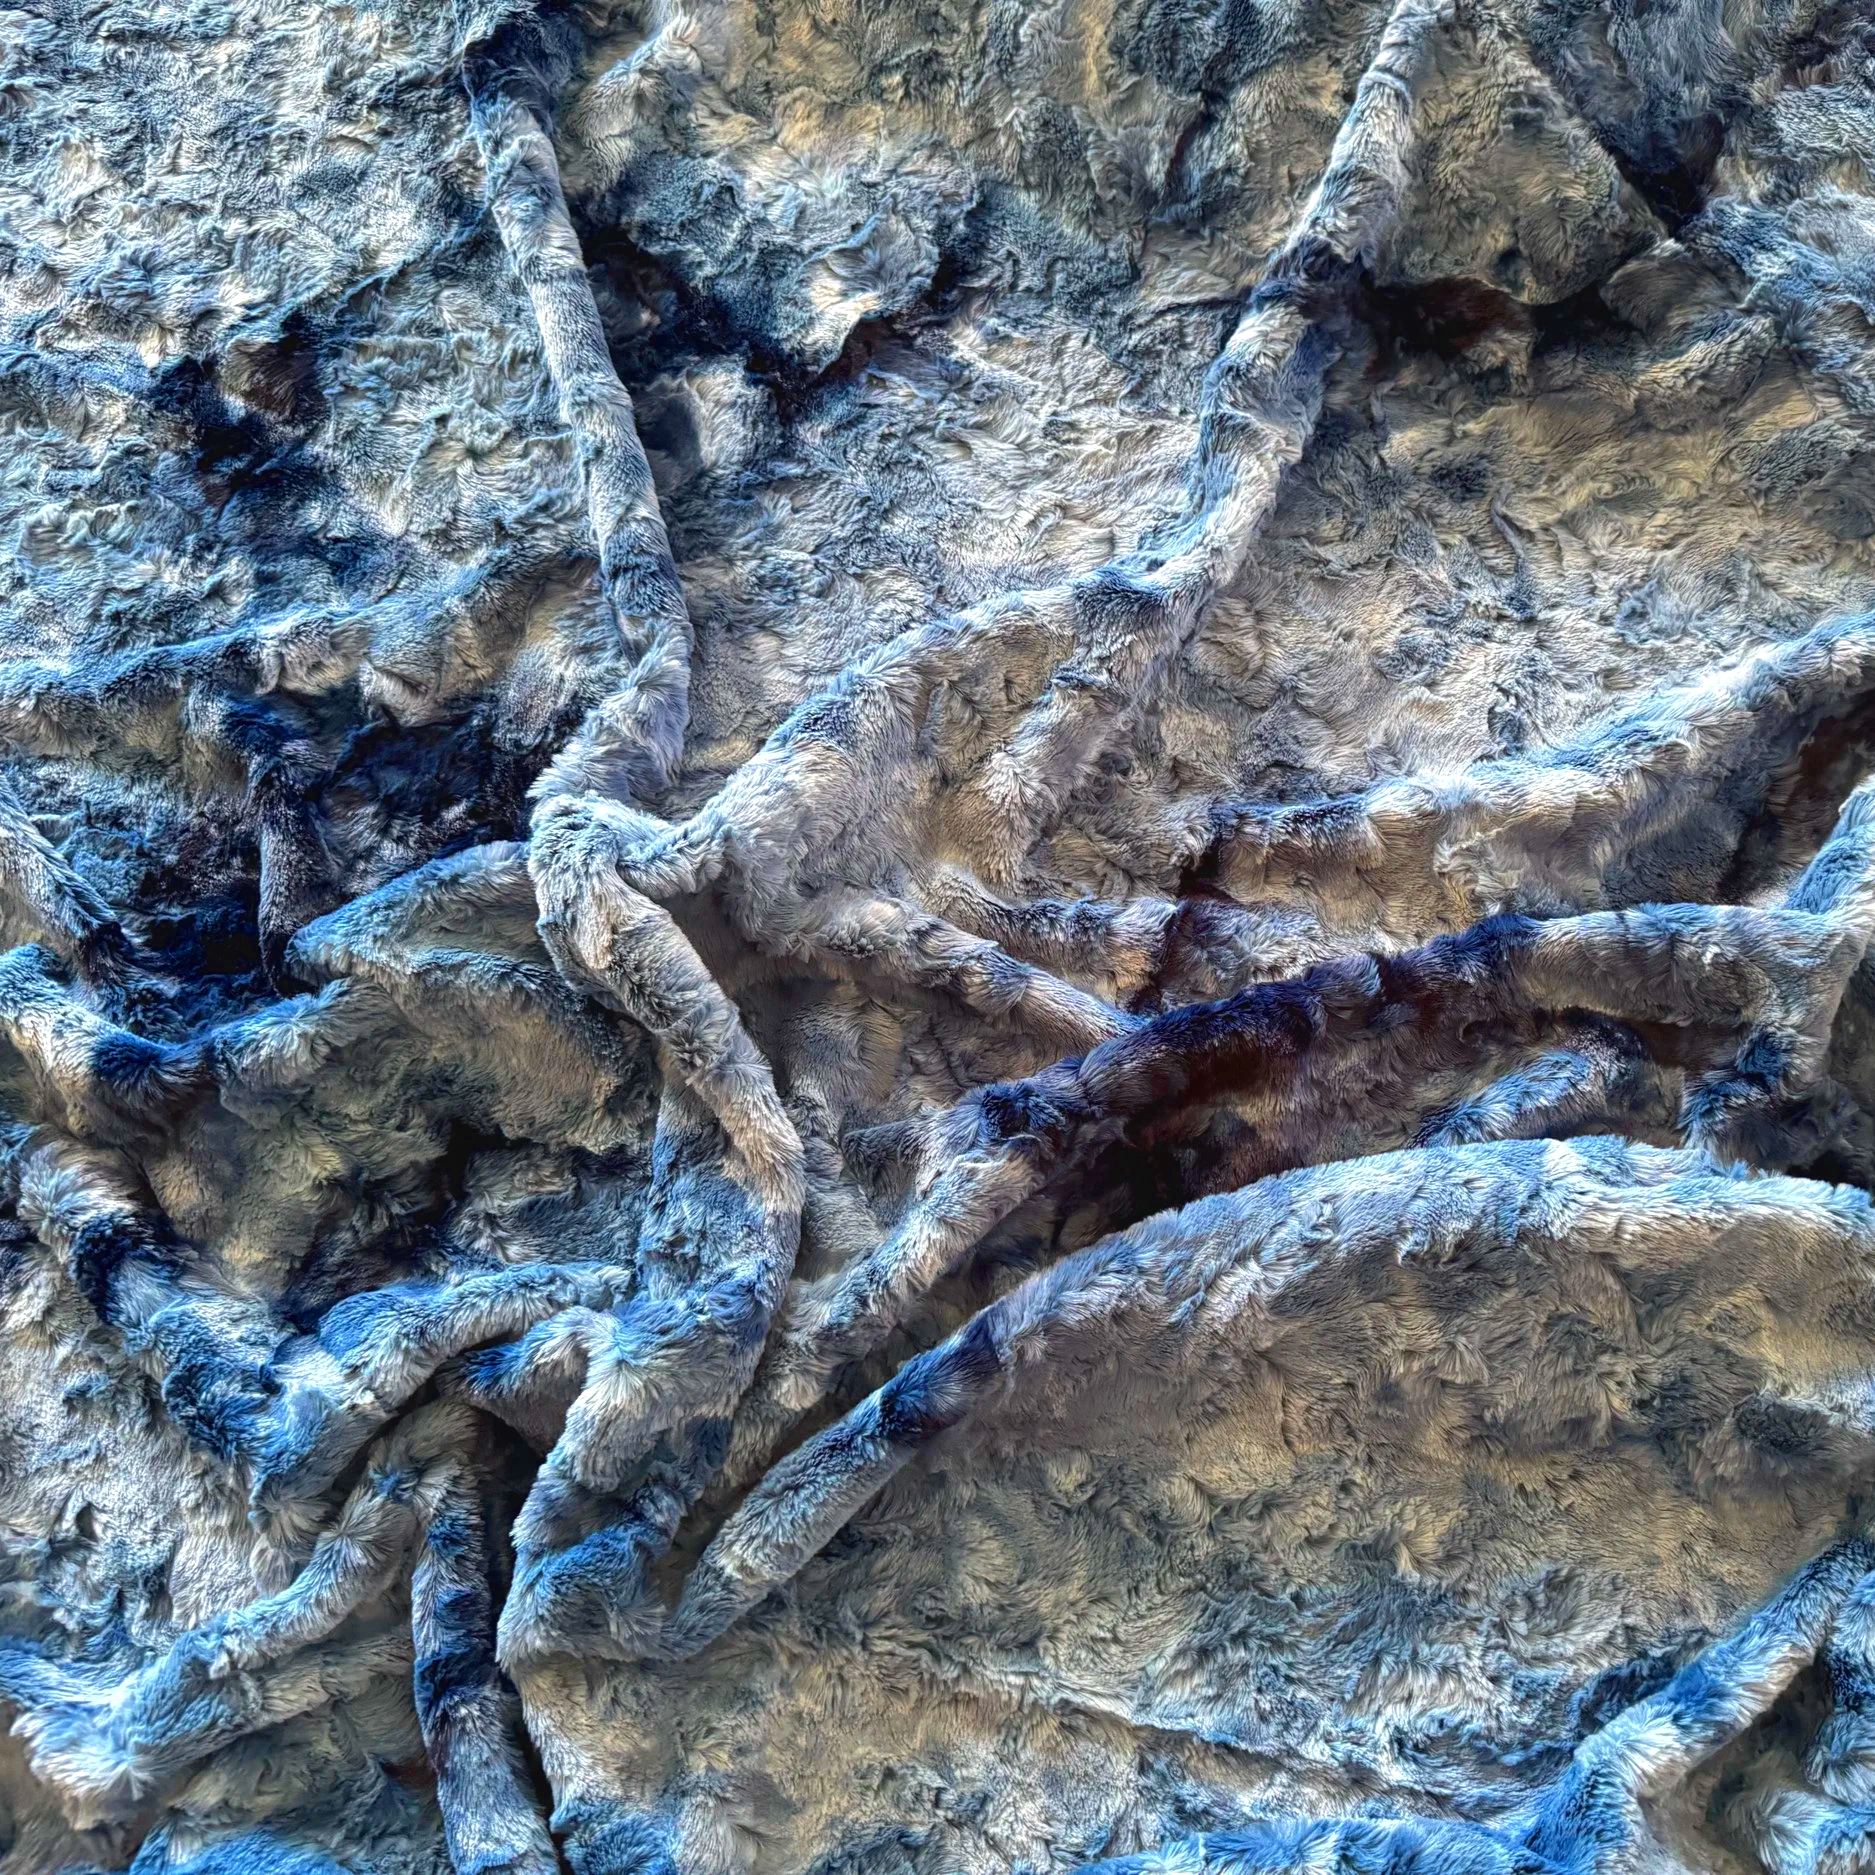
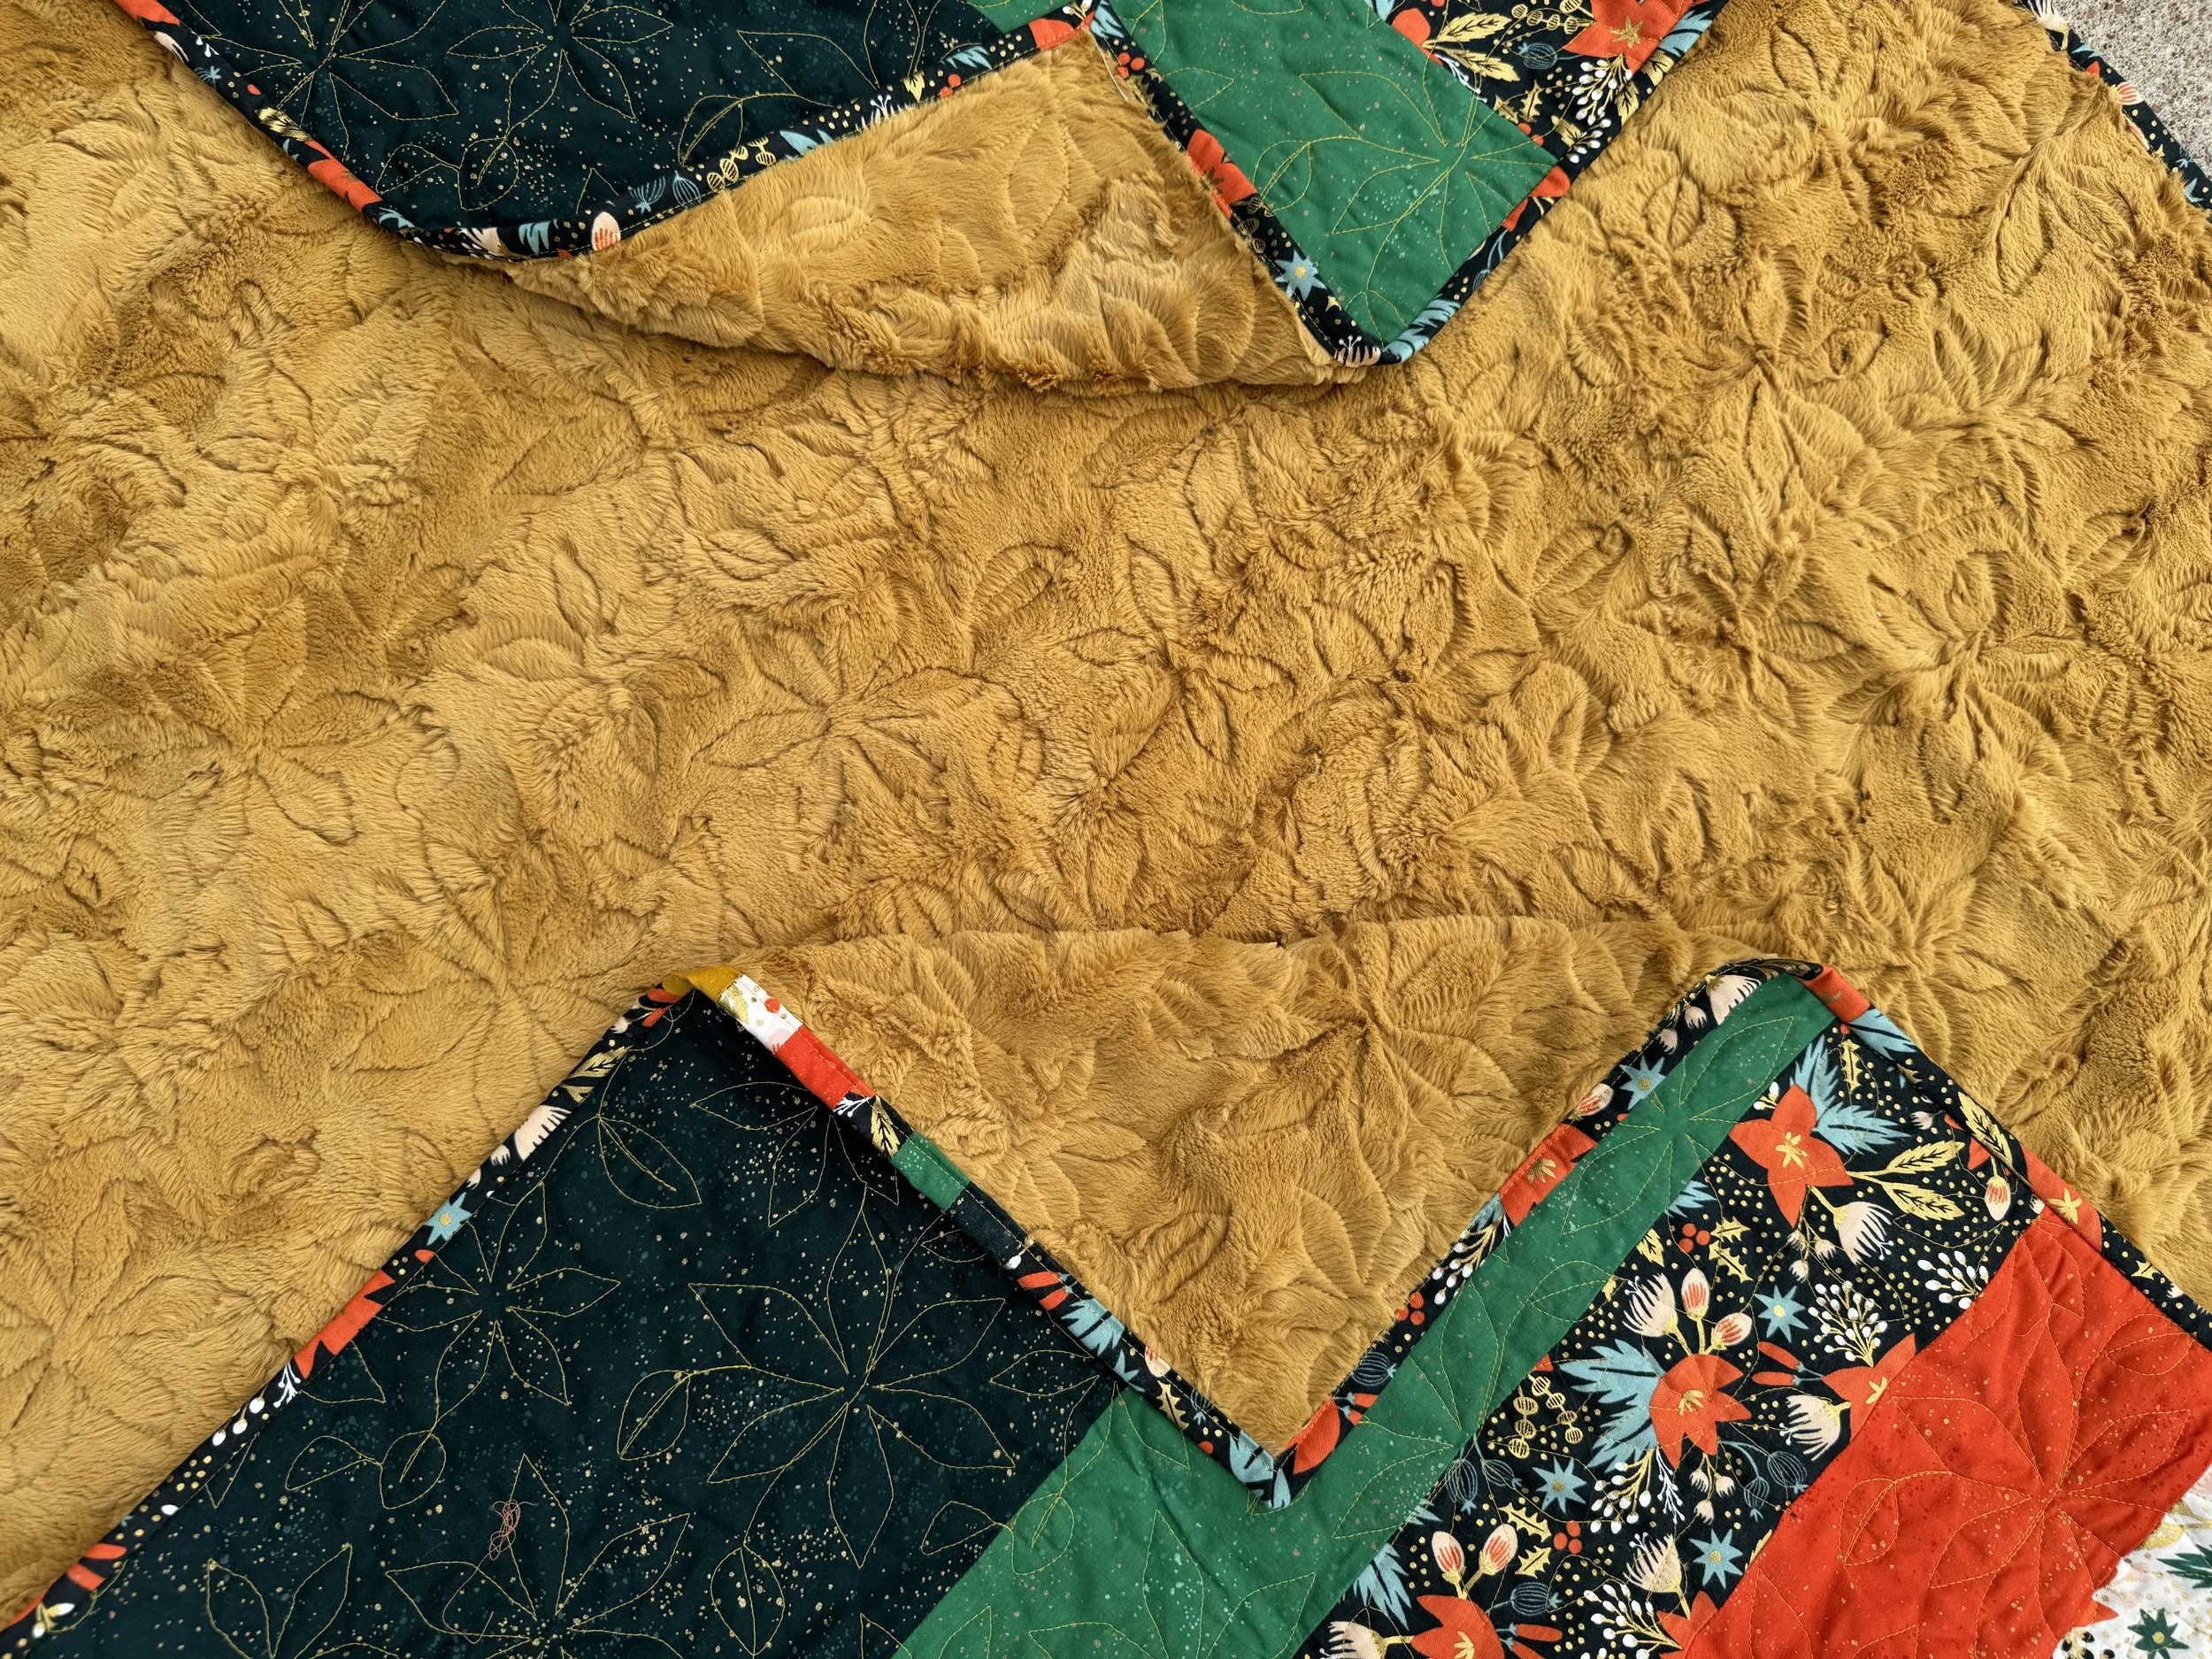
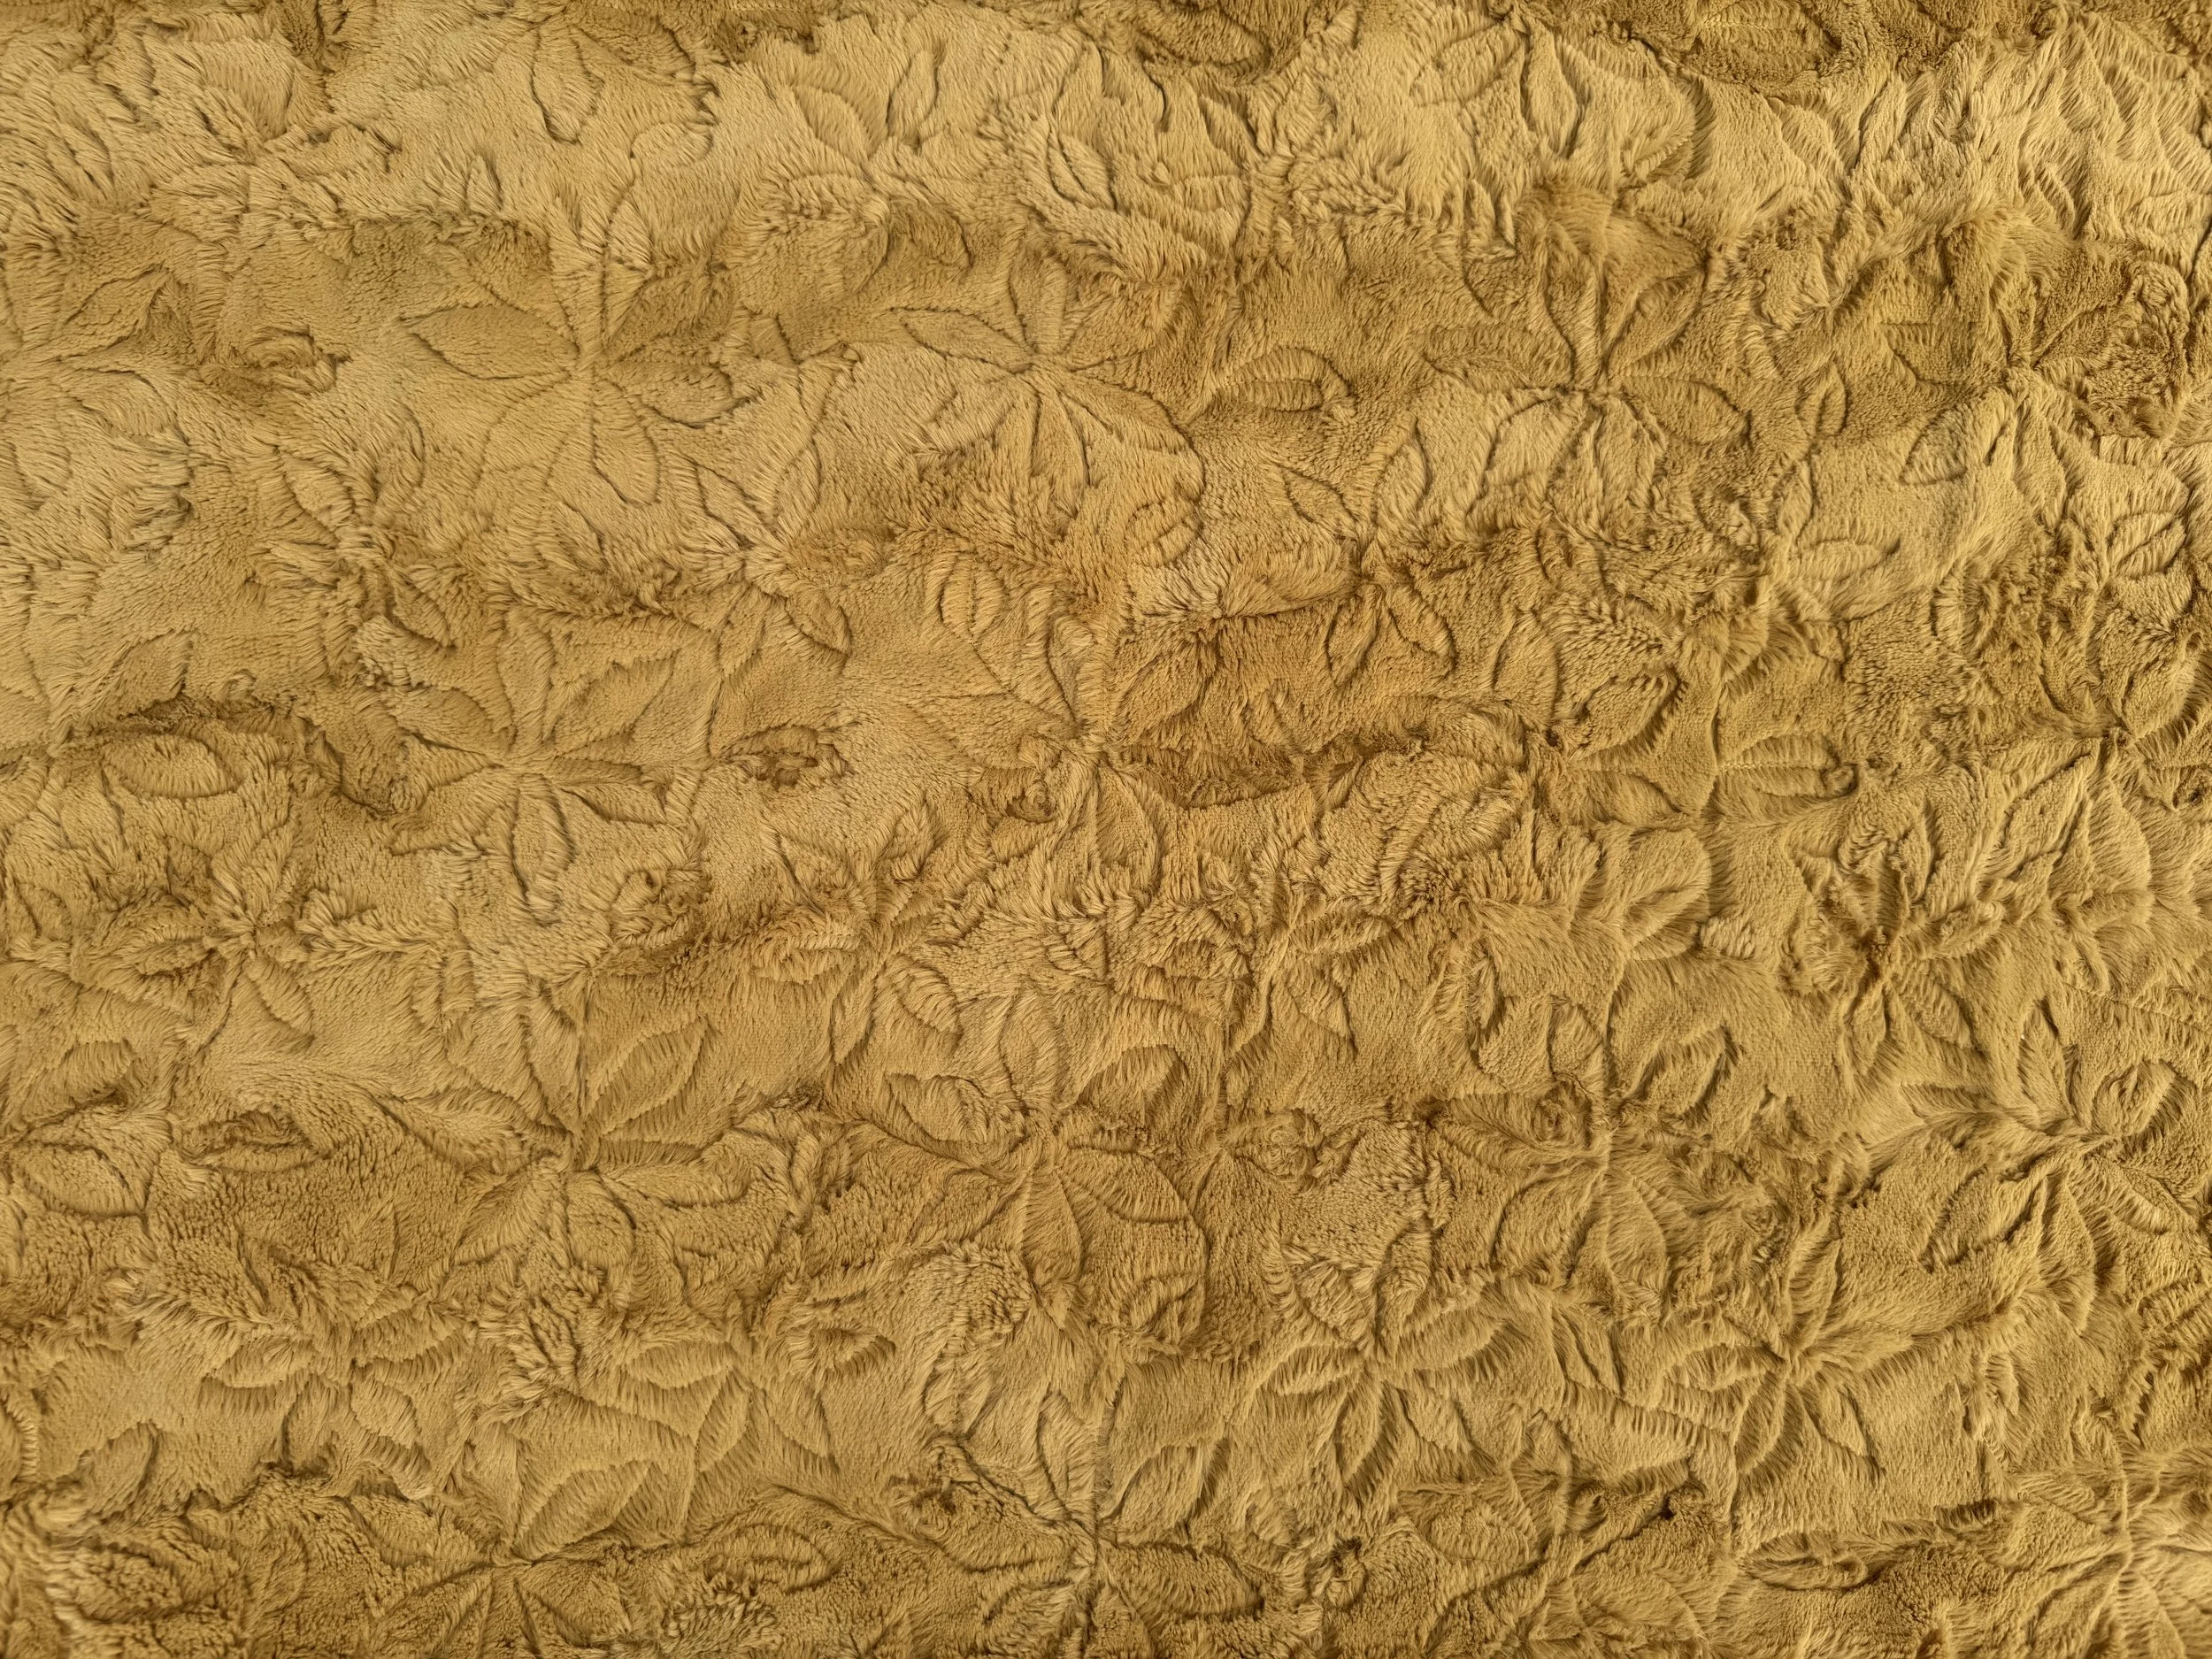
Textured Minky, delicious and luxurious, is a common site in the studio. It feels lovely, has lots of fun color combos, and has lots of fun textures such as faux fur, chevrons, stripes, etc.
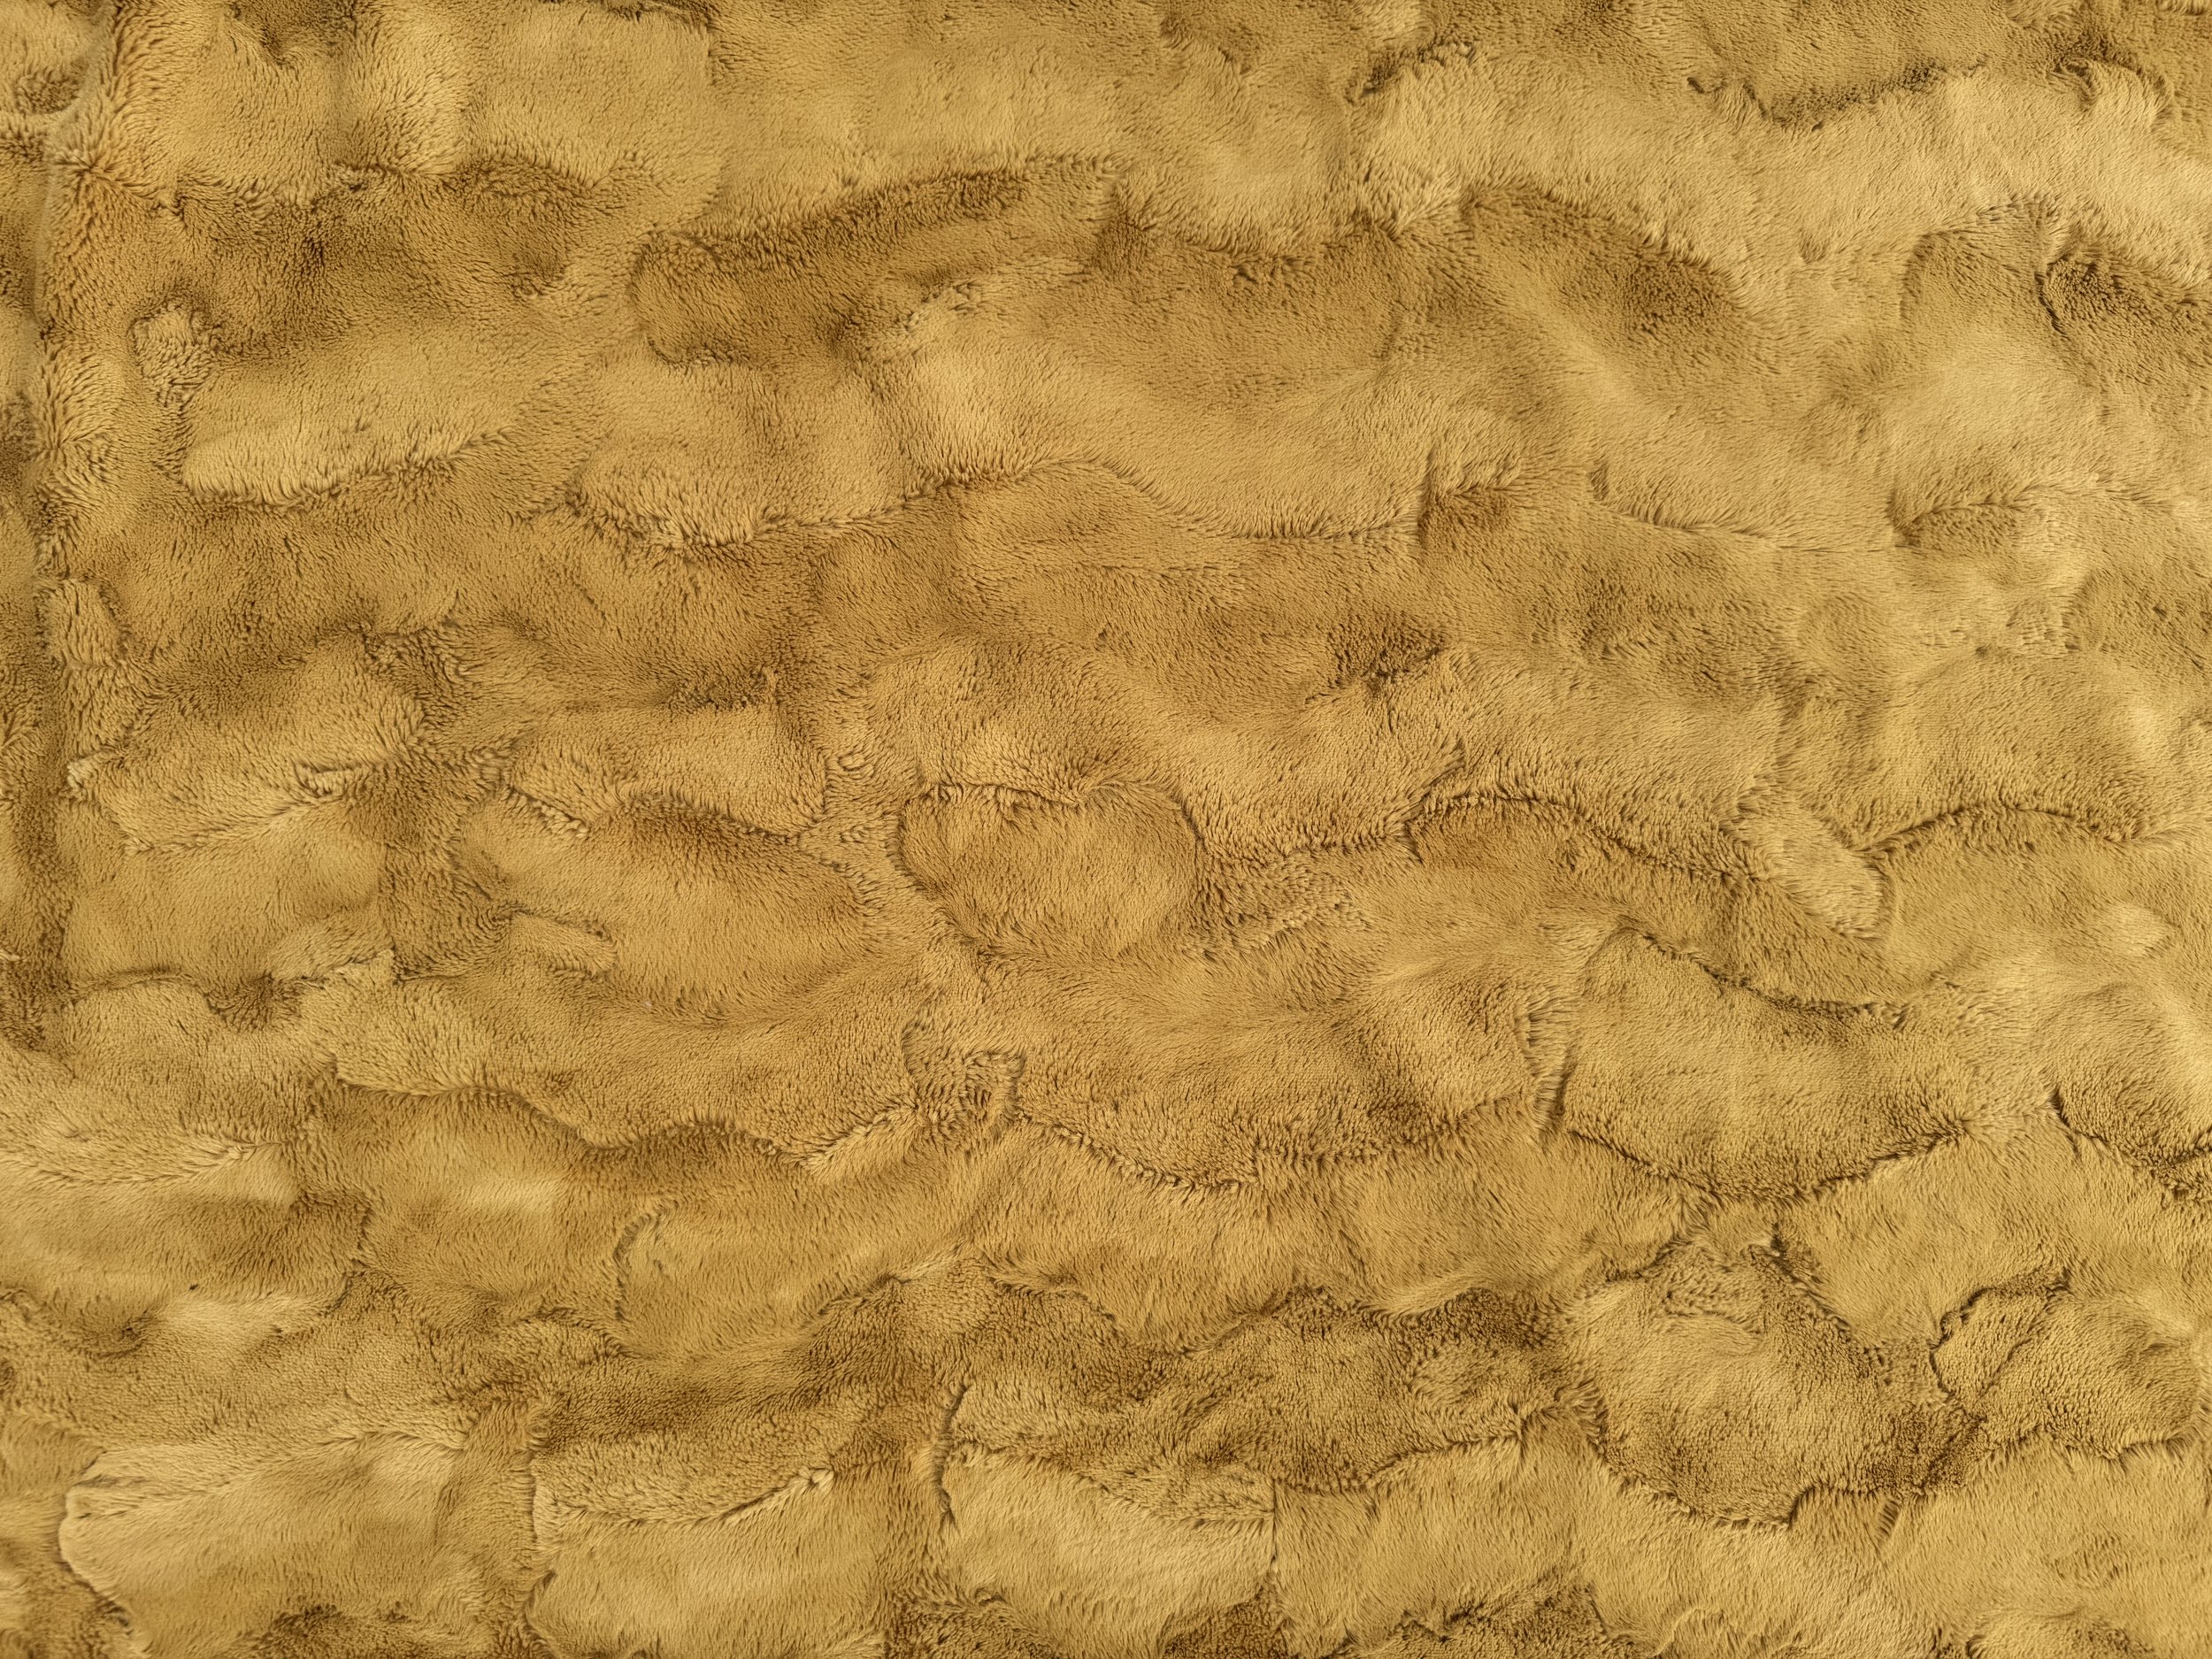
Like smooth minky, it also has significant stretch side to side and has to be loaded with the selvages running up and down the sides of the backing. Some, like the faux fur, has higher pile in places and it is more likely those fibers will pull through to the front. Still not super common, but more so with this type of minky. Also with faux fur, the stitches can tamp down the fibers interrupting the flow and feel of the intended texture. Usually some brushing along with time and use will minimize this, but it can reduce the visual appeal. With general textures such as chevrons or stripes, the quilting can texturally and visually compete with these designs making the end result less appealing.
Whew! That was a lot. Still with me? Good, because there is more to discuss!
Piecing minky should be avoided when possible. That extra stretch tends to complicate things. However, if you do find yourself in a position where piecing it is necessary, we have some guidance. First, leave the manufacturers edge intact. There is built in stability here and we want to keep it. Plus, remember the shedding? (So much shedding.) Also, it will play a part in my second point which is probably the most important one. Make sure that the stretch of the minky is going in the same direction with the pieces you are putting together. This means that selvage edges should be pieced together or cut edges should be pieced together. If you find yourself piecing a cut edge with a selvage edge then one piece will stretch more side to side and the other top to bottom. This reduces the stability I am looking for when loading onto the longarm. Less important to me, but likely just as important to you, is checking that the nap of the fabric is going in the same direction. Nap is when fabric has raised fibers that lay naturally to one side or the other. If you run your hand along a smooth minky, and then run it back the other way, you’ll see and feel those fibers shift. If you are piecing your minky together, you’ll want to double check that the naps match.
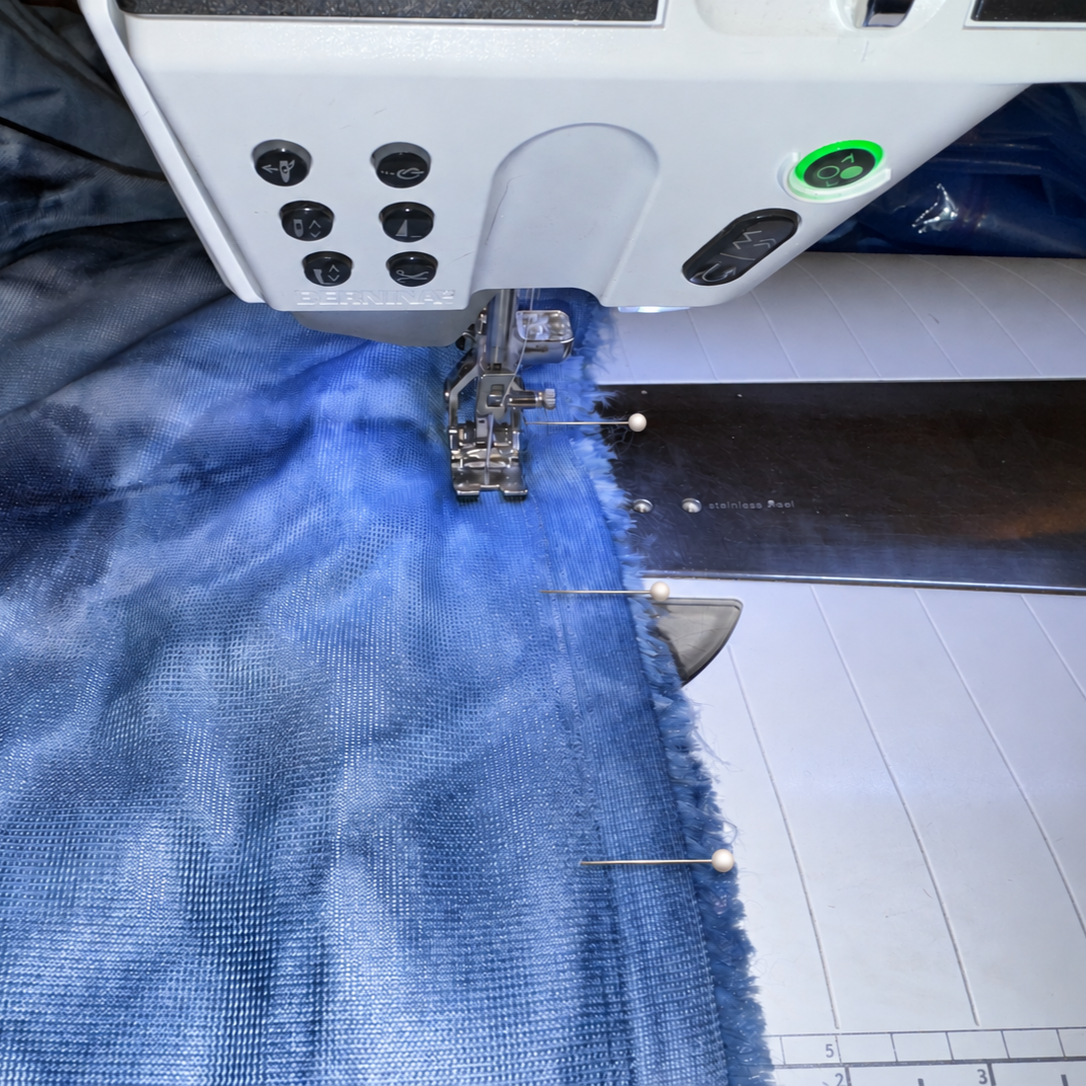
Next, pin and use a walking foot or a dual feed system when piecing for two reasons. First, the backing of minky is smooth and slippery and will scoot around as you piece it. More importantly, using these techniques will significantly reduce the possibility of one side of the backing being stretched more than the other as it pulls through your machine. If you don’t have a walking foot, definitely pin and go slow. Even and stable is the name of the game here.
(I’m not going to lie here, I have a dual feed system and was moving fast so I did not pin this backing. I asked AI to plug those pins in the photo so it would be more representative of what you SHOULD do, not what I did.)
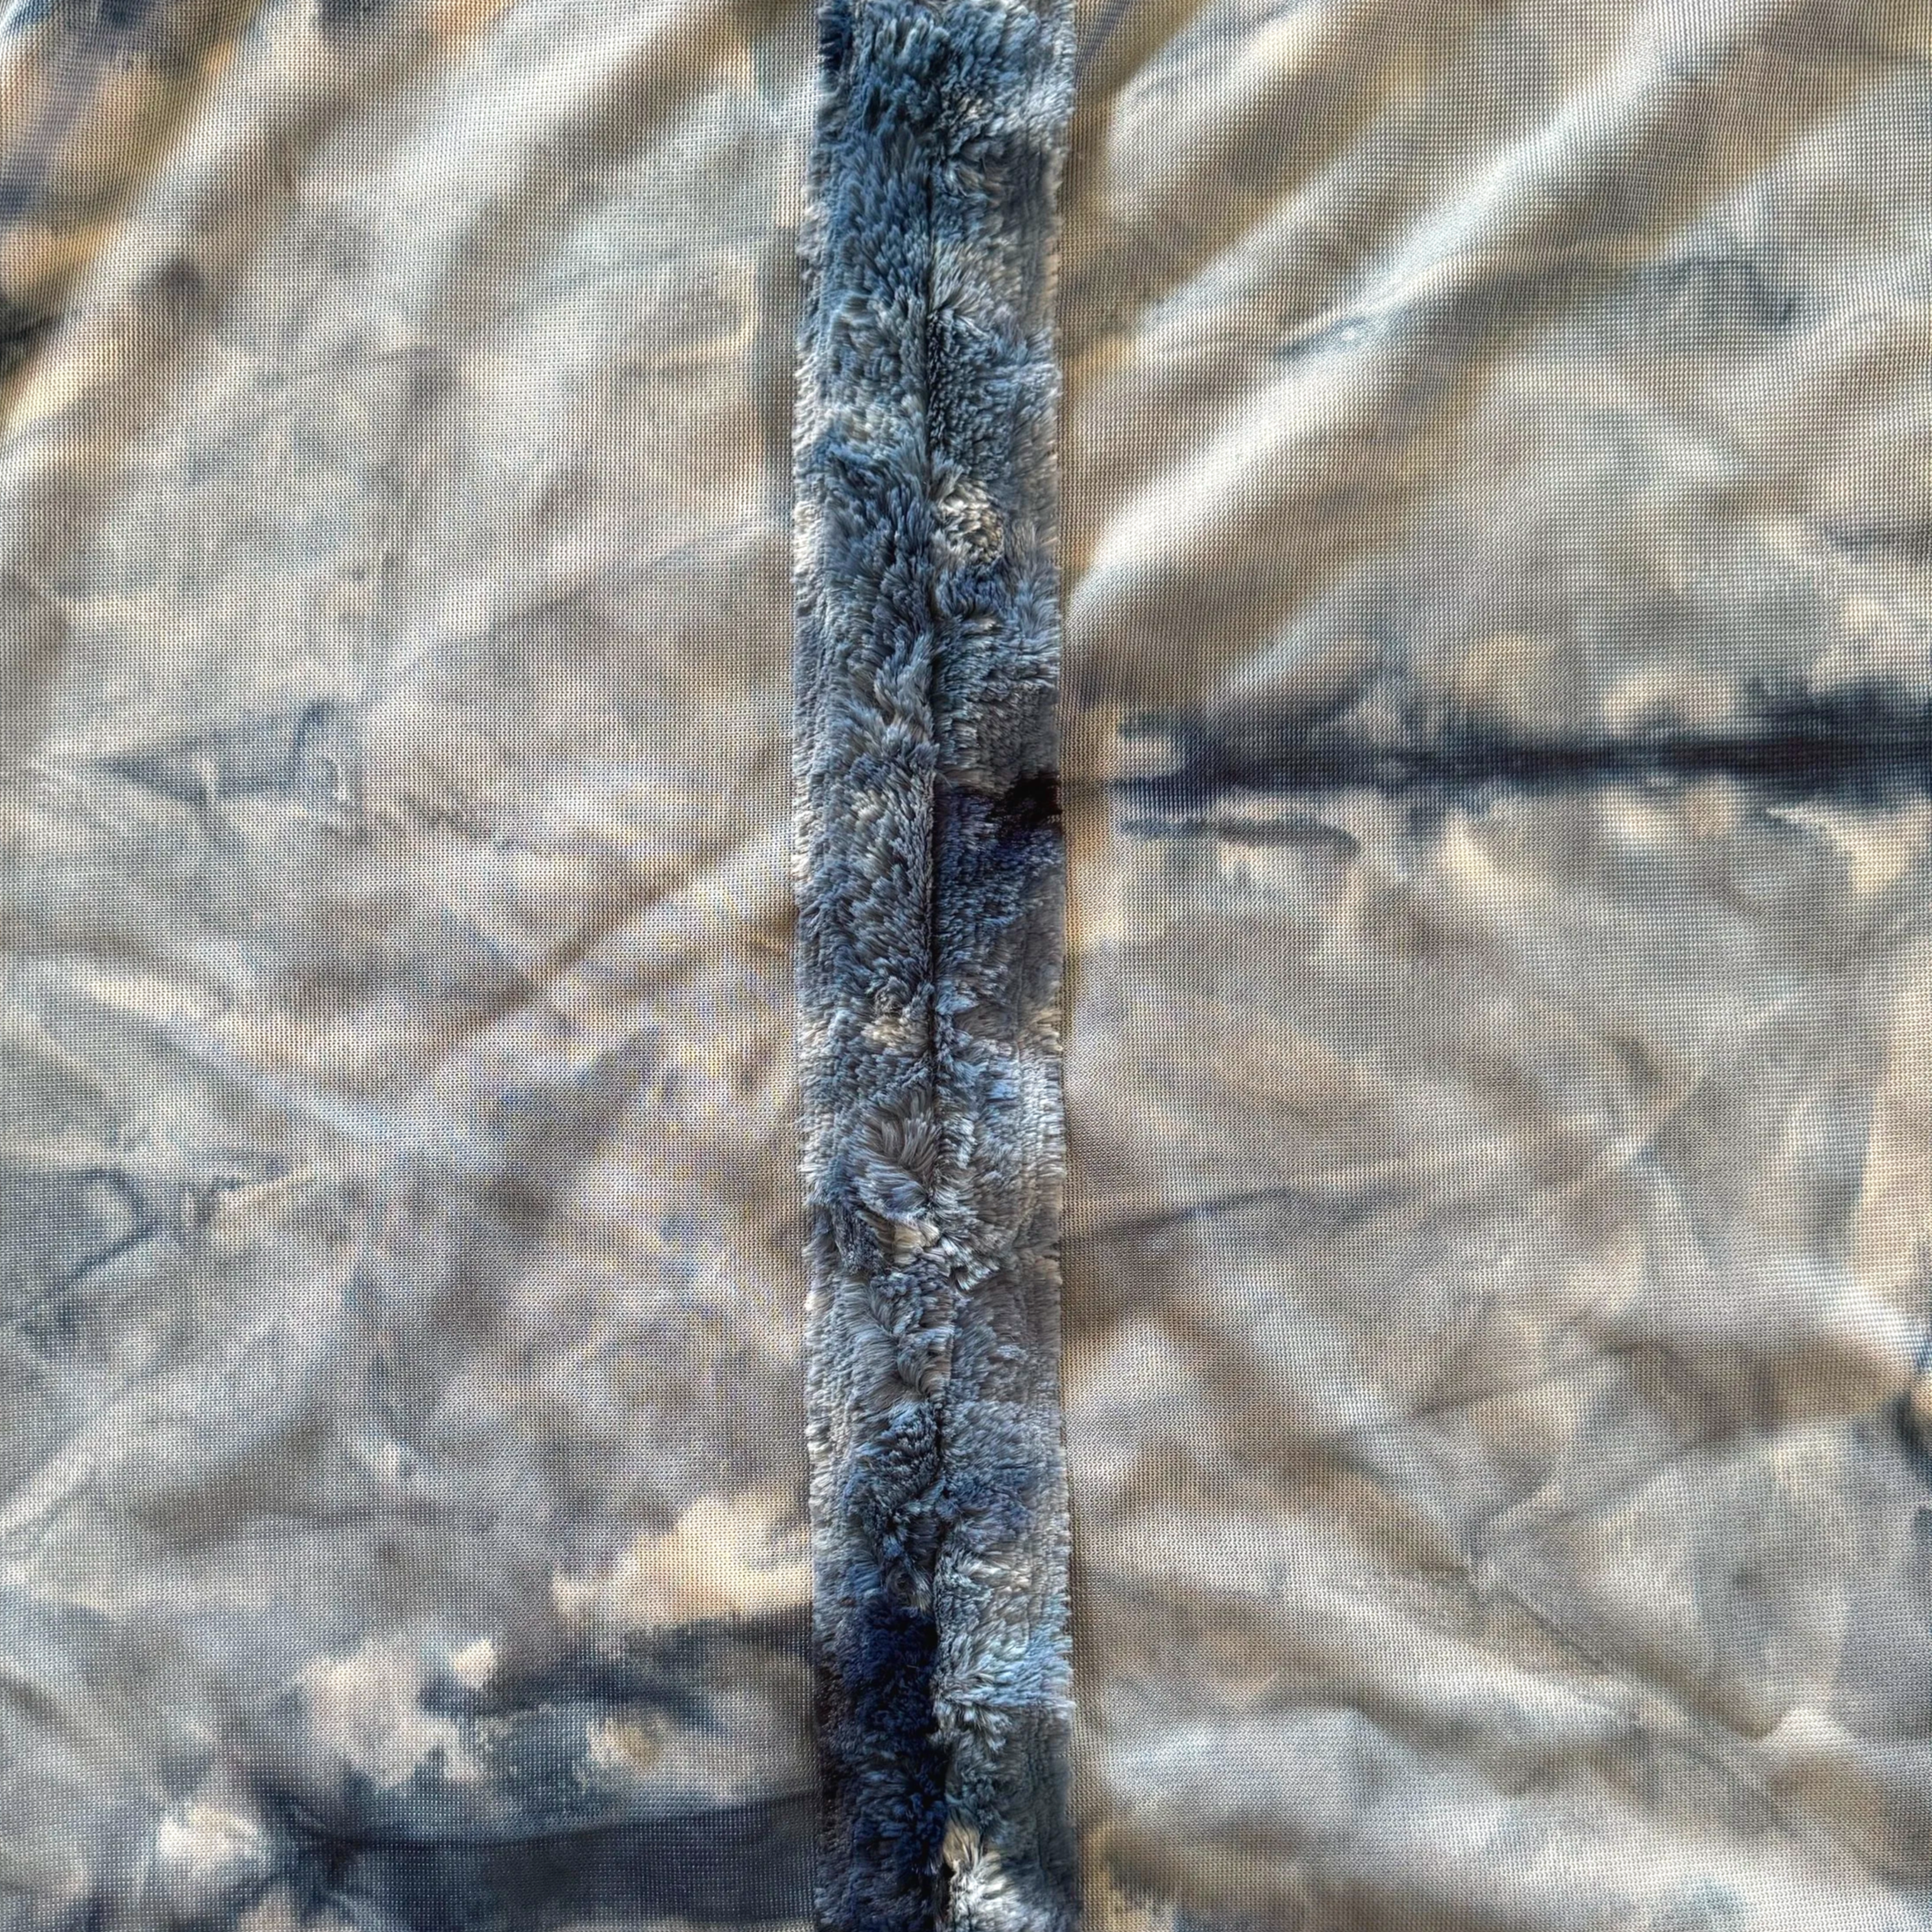
The seams of minky are also bulky. One way to help minimize the impacts of this bulk is to use a wide seam allowance. I recommend at least an inch. This will help distribute the bulk of that seam so it feels and looks more gradual rather than one narrow bump that can both be felt in the finished quilt as well as be a sticking point while on the longarm.
It’s also good to note that minky will melt under your iron. Wider seam allowance help the fabric lay over nicely so you don’t have to risk it.
Okay! You’ve made it to the end! If I think of anything else I’ll be sure to let you know. If you have any feedback or crazy minky stories, let me know. All of this information is from my personal and professional experience, discussions with colleagues, and Google searches. I hope you find it helpful in making a decision about if and when minky is a good fit for a quilt project in your future! We would love to see you check out our other blog posts about various backing fabrics and topics. Enjoy!
-Lilo