
Backing FAQs, Tips, and Tricks
You’ve done the hard part; you have a gorgeous quilt top completed and ready to go but you are stuck on the backing fabric. We totally get it. Below are our requirements, tips, tricks, and other information to help you get over that final, nagging hump so we can get that quilt quilted!!
Will TCQ piece my backing for me?
Absolutely! Simply send the correct yardage for a backing remembering it should be no less than 8” wider and longer than your quilt top and we will do the rest. We do not have a space for this service on our order form simply because it’s usually fairly obvious that it’s something you need completed and our order form is already pretty packed. :)
We will automatically piece your backing with the least amount of seams possible. If your fabric is directional we will orient it correctly. If you would like for your backing fabric pattern to match, be sure to make a note on the order form as this is not an assumption we will automatically make. You will also want to be sure to order extra fabric to ensure we have enough.
Pricing: $15/seam for basic piecing.
$30/seam to pattern match.
To get the best results we ask that your backing be:
4” bigger on all four sides than your quilt top. IE: A quilt top that measures 60” x 80” should have a backing that is 68” x 88”.
Squared up. This means that all your sides are straight and all your corners are right angles. We get that this is hard as many folks don’t have spaces big enough to check or fix this. And honestly, 50% of the backings that arrive are not square so we’ve got lots of little tips and tricks to work with it. We wouldn’t be worth our weight as longarmers if we couldn’t. However, it slows us down and can certainly cause issues so it’s strongly recommended, very much appreciated, and guarantees the best results when your backing is squared up.
WHY do we ask for backings to be bigger than the quilt tops? Unlike quilting on a domestic, we load each layer (backing, batting, and quilt top) to the machine separately. Having extra backing ensures we have enough fabric to physically attach the backing to the machine, apply our clamps to keep the fabric taunt, and it gives us room to run your pattern off the quilt top so it repeats attractively. Additionally, it gives us a little breathing room should something be a little off from square.
Your backing isn’t big enough to meet our size requirements? Yeah, we get that a lot. I’m happy to let you know even I’ve shorted myself on backing a time or two. Here’s the dealio:
You can address it before sending it our way.
If you are close (say you have 2” on each side rather than 4”) you can add some throwaway borders to the sides that are short. Given enough fabric we can likely center it so those borders do not actually make it in the quilt and are trimmed and tossed away once we are done.
If your backing is exactly the same size or smaller than your quilt top you’ll have to add fabric somewhere. Some folks add a strip to the side, some put it where it would fall about a third of the way into their quilt, some add it to the middle. One the side or the third are the most desirable on our end as down the middle is a tad bit harder for us to center perfectly, but it’s rare that any imperfections are noticeable.
You can go ahead and send it. It is rare that we can’t find a solution. Sometimes, depending on the combo of quilt size and quilting pattern, we can leave it be and go ahead and quilt it. Here are some other potential solutions/results:
We may have to add scrap fabric to the backing. This labor and fabric will be at your expense.
It could take us longer than 4 weeks to complete.
It could limit the patterns we can select, result in patterns not running fully off the quilt, or leave gaps in the pattern where we are unable to repeat it properly.
Your backing is larger than our requirements? Cool! In this case, the more the merrier. It gives us much more flexibility in the shop as far as what machine we can use with what patterns, how we might be able to load it, and a couple of other internal decisions/processes we work through. While we always load quilts with perfection as our top goal, our second goal is to maximize whatever leftover fabric we can send back to you. The main thing is don’t feel like you have to trim it down! That’s harder for you and unnecessary for us.
Will you trim my quilt? We LOVE to trim your quilts once we are done! It just feels so much closer to a finished project! The bulk of our customers opt into this service and it has become our default. If you do not wish for us to trim your quilt, either so you can salvage every bit of extra backing fabric, or simply because you prefer that method, you can select ‘Do Not Trim My Quilt’ on the order form.
If we are trimming your quilt, we are simply removing the extra batting and backing fabric from the quilt top. Unless we are easing from one wonky point/extra fabric in the quilt to another, we do not cut into your quilt top. It should also be clear we are not squaring your quilt. This often entails cutting into the quilt top or making judgement calls on what to trim which is not something we are keen on taking on.
Will you return the extra backing fabric? We do our best to get you any significant scraps back should you select that on your order form. To us, significant scraps would be long strips larger than 2-3”. We respect that to our most scrappy conscious customers, they may want alllll of it back. If so, we encourage you to select ‘Do Not Trim My Quilt’ on your order form so you don’t miss an inch!
It should be noted that the 4” of extra backing fabric on all 4 sides of the quilt that we ask for should be thought of as a longarmer's seam allowance. Even if you don’t see it in the final product, it is a necessary part of the process that does get used up in various ways. We use it to baste down the batting, it gets quilted into as we run the quilting pattern off and back onto the quilt, and we sometimes use it as a tension testing ground when we start, stop, and change bobbins. It should be your expectation, as it is ours, that this is our fabric to use as necessary to achieve the best results possible on your quilt top. There should be no expectation that this fabric will be usable after the longarming process nor will it be returned. If it works out, great! But let’s let that be a nice surprise rather than an expectation.
Adding piecing, panels, or additional features on your backing? Fun!! Keep a couple of things in mind:
I can’t see your backing once it’s loaded onto the machine. Backing fabric stretches just a tad when it’s taunt. And quilt tops ‘shrink’ when quilted due to the indentations made when the stitches secure all layers together. This is amplified with higher loft batting and the more dense the quilting pattern.
These elements combine make it super hard to be 100% accurate in lining up elements on the backing fabric. Any buffer room you can give us is super appreciated and will help achieve the best results.
Centering a panel is the hardest thing for me. I can measure and mark to my hearts content, but in the end, it’s experience and guesswork. In these situations, I load quilts in a way that ensures if I’m not perfectly centered, at least it’s centered high which is the most pleasing to the eye and the least noticeable.
Remember to keep any long running seams away from your edges when possible!
Will TCQ piece your backing for you? Sure! Happy to help! Send us the yardage and we will take care of it for $15/seam. Pattern matching starts at $35/seam and you will want to send plenty of extra.
You really want your backing seam centered? Hmmmm, can I talk you out of that? When you fold a quilt, what’s the first thing you do? Fold it in half, right? Riiiiight along that main backing seam that has been centered. Think about a piece of paper that you fold a million times, always in the same spot. It wears and eventually tears. Now think about a perforated piece of paper that you fold a million times, always in the same spot. It practically tears itself. Quilt historians and archivists really encourage us not to fold along seams and the easiest way to do this is to avoid centering that backing seam. PLUS! If you are going to get any scraps back, scooting off center will allow me to give you back a bigger chunk of backing fabric. Win, win!
Piecing Tips and Tricks
Use a wider seam allowance and press your seams open. This combo gives a flatter, less noticeable seam, as well as better protects from any unraveling on a seam that gets a big workout.
Keep your long running backing seams away from where the edge of the quilt top may fall. The edges of quilts take the heaviest beating and the most stress. Give your seams some buffer space when possible.
Evaluate your selvage and trim when necessary. Some high quality modern fabrics have selvages that are designed to act just like the main body of the fabric. Cool. However, most selvages are woven differently than the rest of the fabric and will potentially shrink differently. Some of them are already tighter than the main body of the fabric preventing your backing from laying flat. When we load these on the machine, that tight selvage virtually traps extra fabric within the backing and can lead to puckers and folds. We have a full blog post on our thoughts and when to trim selvage!
Do we require pre-washing? Pre-washing is totally up to you. The general quilting community tends to recommend that you treat quilting cotton backings the same as the fabrics in your quilt top. IE: If you pre-wash the fabrics in your top, wash your backing and if you don’t, don’t. Overall, if you are using good quality backing fabrics it will not make a difference in the quilting quality whether your backing is pre-washed or not. (Exceptions below.)
Will we use sheets as backings? Sure! I’ve not found that sheets quilt differently than anything else sent in. We do prefer that the bulky edging seams are trimmed off as they will prevent the backing from laying flat on the machine.
Wide Backs: Just like any other quilting cotton, wide-backs come in a wide variety of quality but present different issues. Here are our thoughts:
Wide backs are big and therefore hard for anyone to cut straight. You, quilt shops, the little Etsy shop you love to buy from... Always order more than required and double check that it is square before sending it. More often than not, it’s not cut straight and it’s not uncommon to have to trim significantly off one side or another (or both) to get it even enough to load onto the machine. If I need to do this, I will pass that labor cost along to you.
But it was ripped rather than cut, that means it’s along the grain, straight, and square, right? Yes and no. It’s on the grain, but until you’ve ripped the other 4 sides, there is no guarantee it is square. And sometimes the ripping process creates an edge that is distorted or stretched a bit and should be trimmed before being used for piecing.
Unless it’s a high quality fabric, we recommend washing all wide backs. They are more prone to color bleed than regular quilting cotton and have strange qualities due to the chemicals used to make them (stiffness, funky smells, and a waxy texture.) These last qualities can produce less than desired quilting results as the needle holes may not heal as well and the thread may lay on top of the fabric rather than nestle in as preferred.
Watch these selvages!! Lower quality fabrics often have selvages that are woven much tighter than the rest of the fabric preventing it from laying flat. If that’s the case, be sure to carefully trim them.
Flannel: It's great, go for it! In general, it’s recommended to prewash flannel as it tends to shrink and bleed more than regular quilting cottons and you don’t want it to distort or damage the end result. If you have to piece it, use a smaller stitch length and larger seam allowance as flannel unravels more than most. The weave of flannel often stays consistent all the way to the edges meaning you might not have to trim a selvage from both sides. Be sure to look at it closely and evaluate.
Fleece: See the bullet points for the minky section below. The only difference is that fleece selvedge curls and needs to be trimmed off. This is not true for minky.
Microfiber Blankets: My family is a big fan of using microfiber blankets on our quilts. For the warmth and cuddly factor it blows quilting cotton out of the water. It’s lighter and comes in larger widths than minky. However, it is hard to work with and has several pitfalls that prevent it from being perfect for all projects. Want to know if it makes sense for your project? I’ve got a whole blog post about it on Suzy Quilt’s website!! Check it out! In addition to the information in that post, I do have a few extra points to make:
If you can, double check with us about what you are planning to use before purchasing it and/or sending it our way. This gives us an opportunity to spot any red flags we see that might not be obvious or clear in all the information we are publishing.
Be sure to wash it before sending it our way. It doesn’t shrink but there is potential for that factory smell, some extra fuzz, and creases from the packing that are nice to address before we attach your quilt top to it.
Things can go wrong in unexpected and unpredictable ways (ask me how I know) and while we always, always do our best, we will not reduce pricing should the results be undesirable due to the backing provided.
These edges are not traditional selvages as this is a finished product. I do not recommend trimming these edges as they give it some stability which is useful to me as a longarmer.
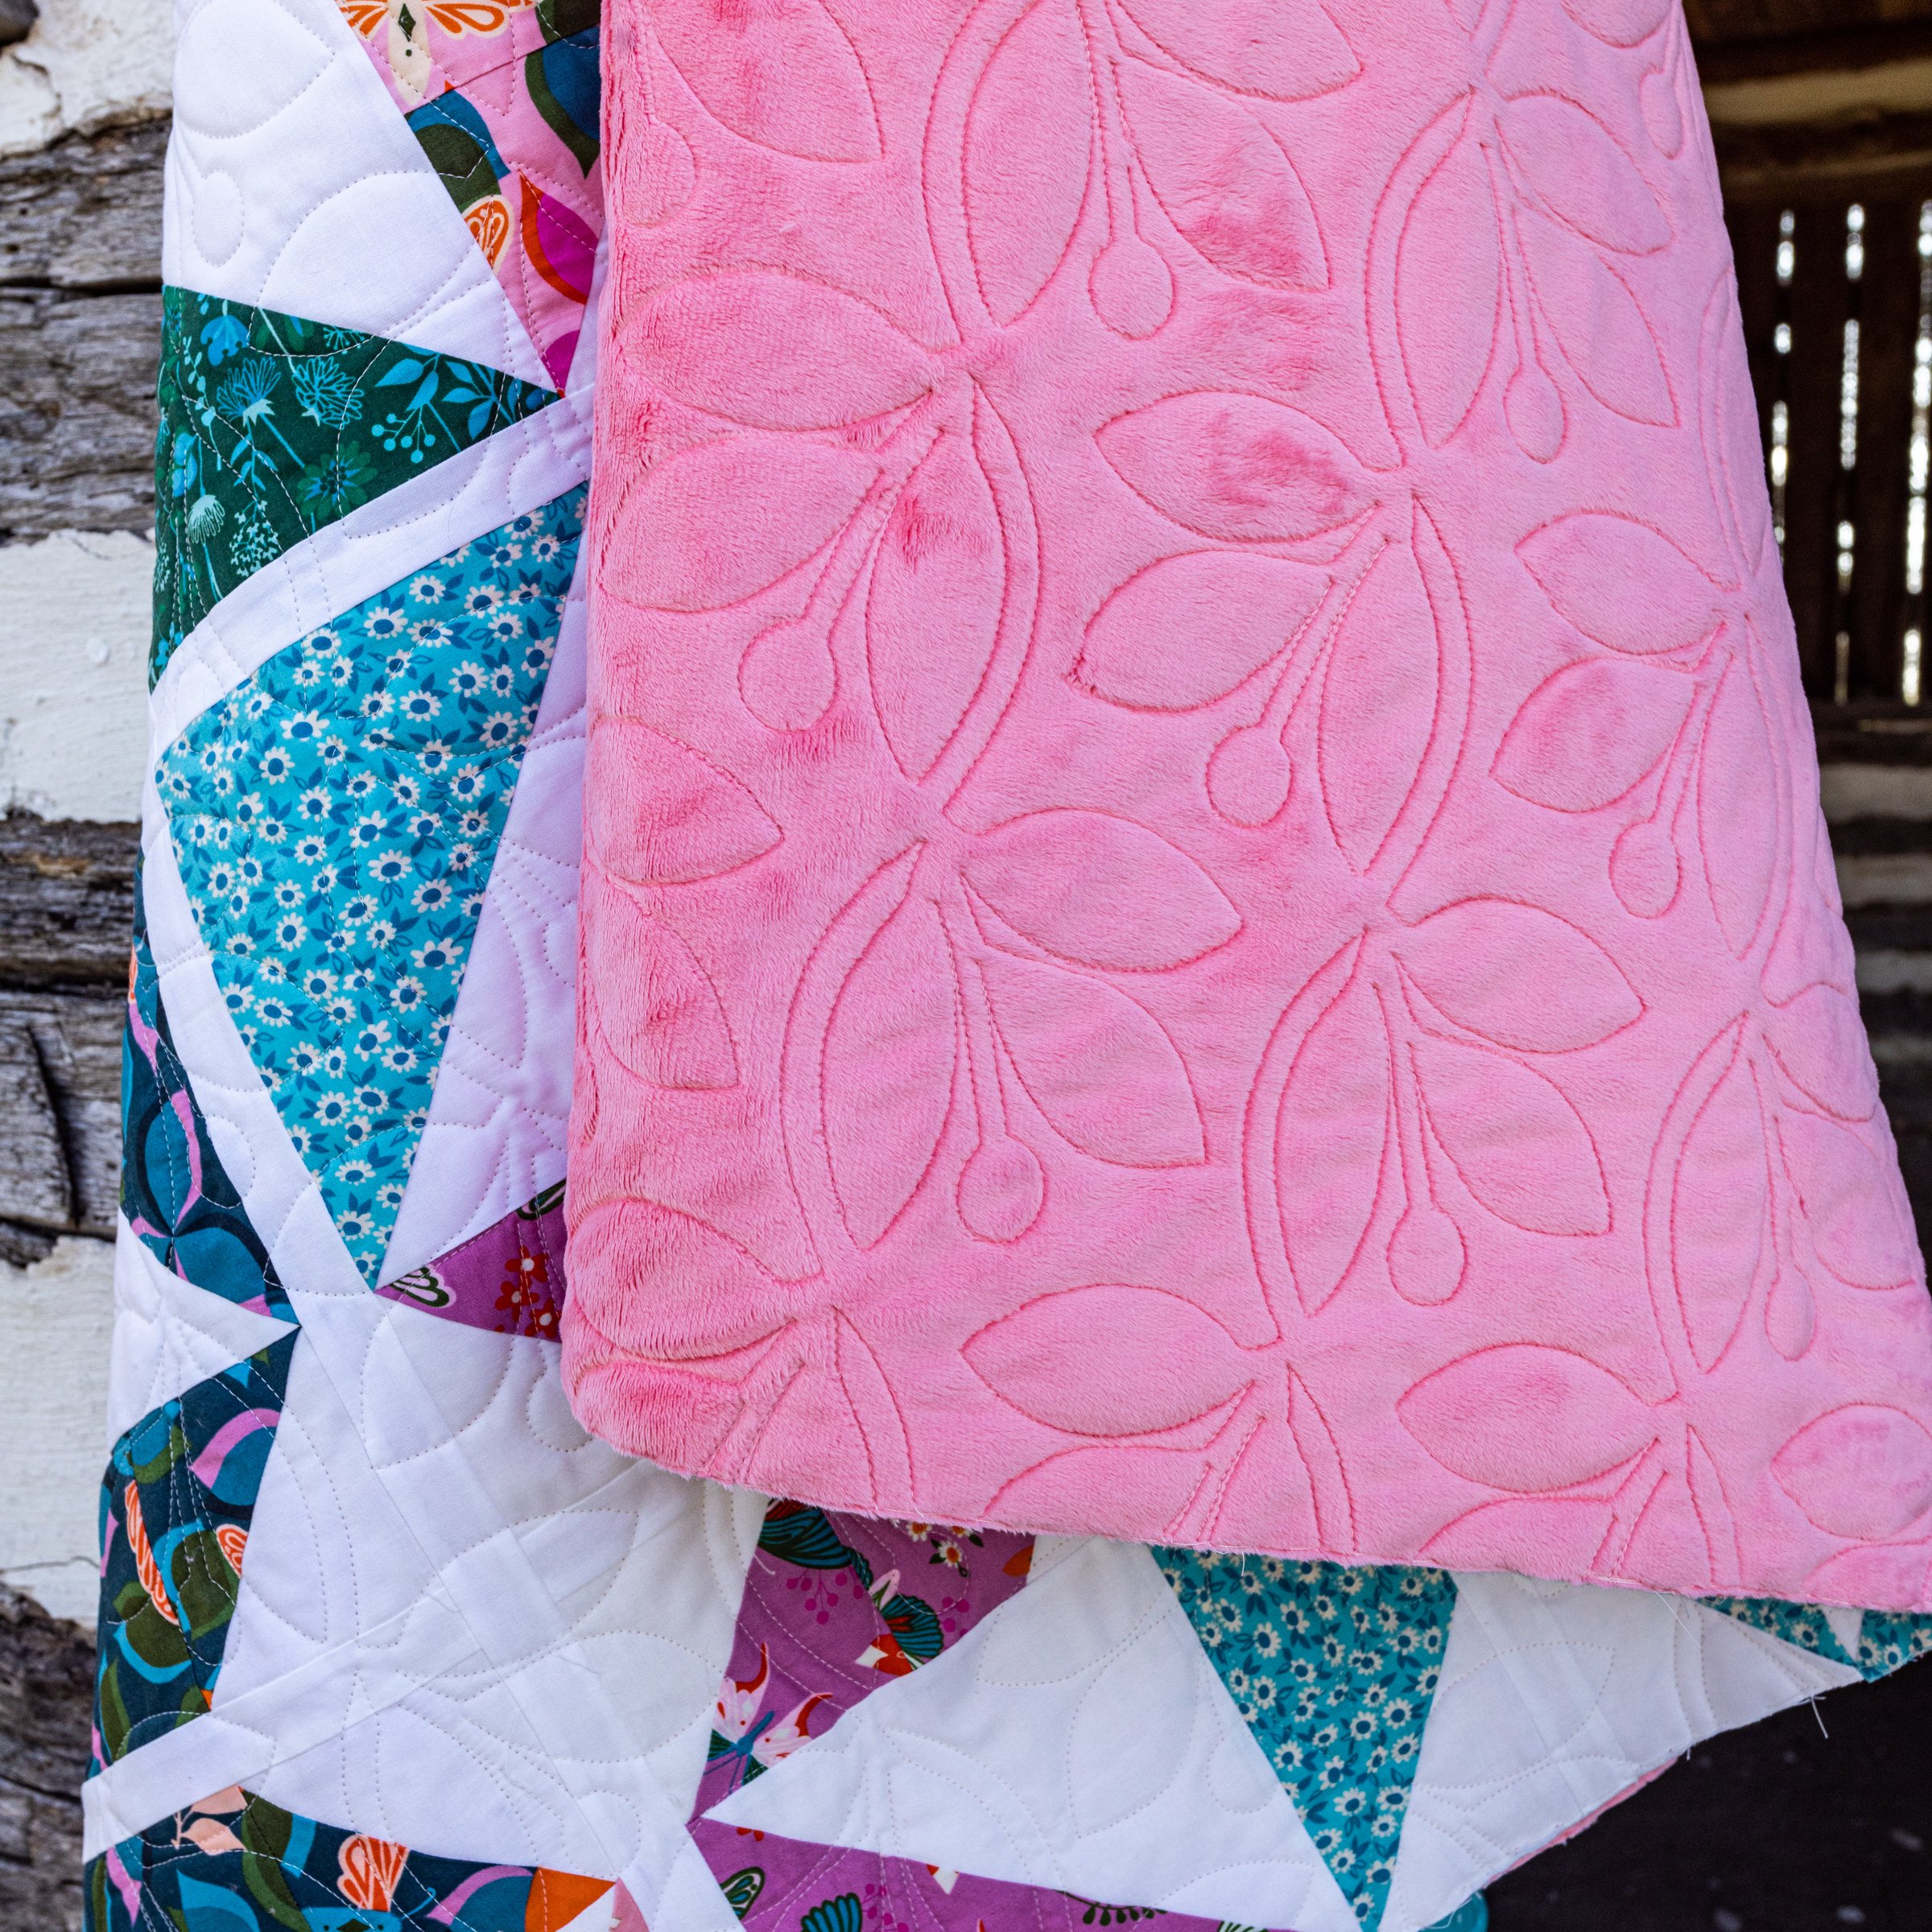
Minky. Sigh. The softest, plushest, most pain in the a** fabrics around- am I right? Yes, we love it soooo much and therefore we will take minky or plush fabrics as backings. HOWEVER, you are selecting this at your own risk. Here are our thoughts and strong, strong preferences:
There really should be a direction in which the fabric DOES NOT STRETCH. Minky Dots, for instance, stretches like crazy in all directions which makes it very hard for us to keep it stable on the machine. But most minky and plush fabrics only stretch in one direction and we have much more success with these fabrics.
If you have to piece your minky together please piece it so the stretch in both pieces goes in the same direction. Definitely give yourself an extra wide seam allowance and do what you can to keep that seam laying open.
The direction of the stretch affects how we pin it to the machine. If your top is directional, this may affect the patterns you choose. We recommend non-directional quilting pattern selections when working with these backings or that you check with us so we can help guide you to get a good combination.
Thick pile minky can sometimes be pulled through to the quilt top by the needle. You can minimize the appearance of this by using batting and/or choosing a thread color that is the same as your backing.
Things just get funky with minky in unexpected and unpredictable ways (ask me how I know) and while we always, always do our best, we will not reduce pricing should the results be undesirable due to the backing provided.