
Trimming Selvage
Hey, all! As a longarmer and a pattern writer I get a decent amount of questions about trimming selvage when quilting so I wanted to take a moment to throw my two cents in on the topic. I think it’s important to preface this with the fact that there is some very solid, professional guidance out there on if and when to trim the selvage from your quilting cotton fabrics. I’m a professional, yes, but my thoughts in this post are based on my experience and observations vs hard core research and testing. With those disclaimers, let’s jump right in!

What is Selvage?
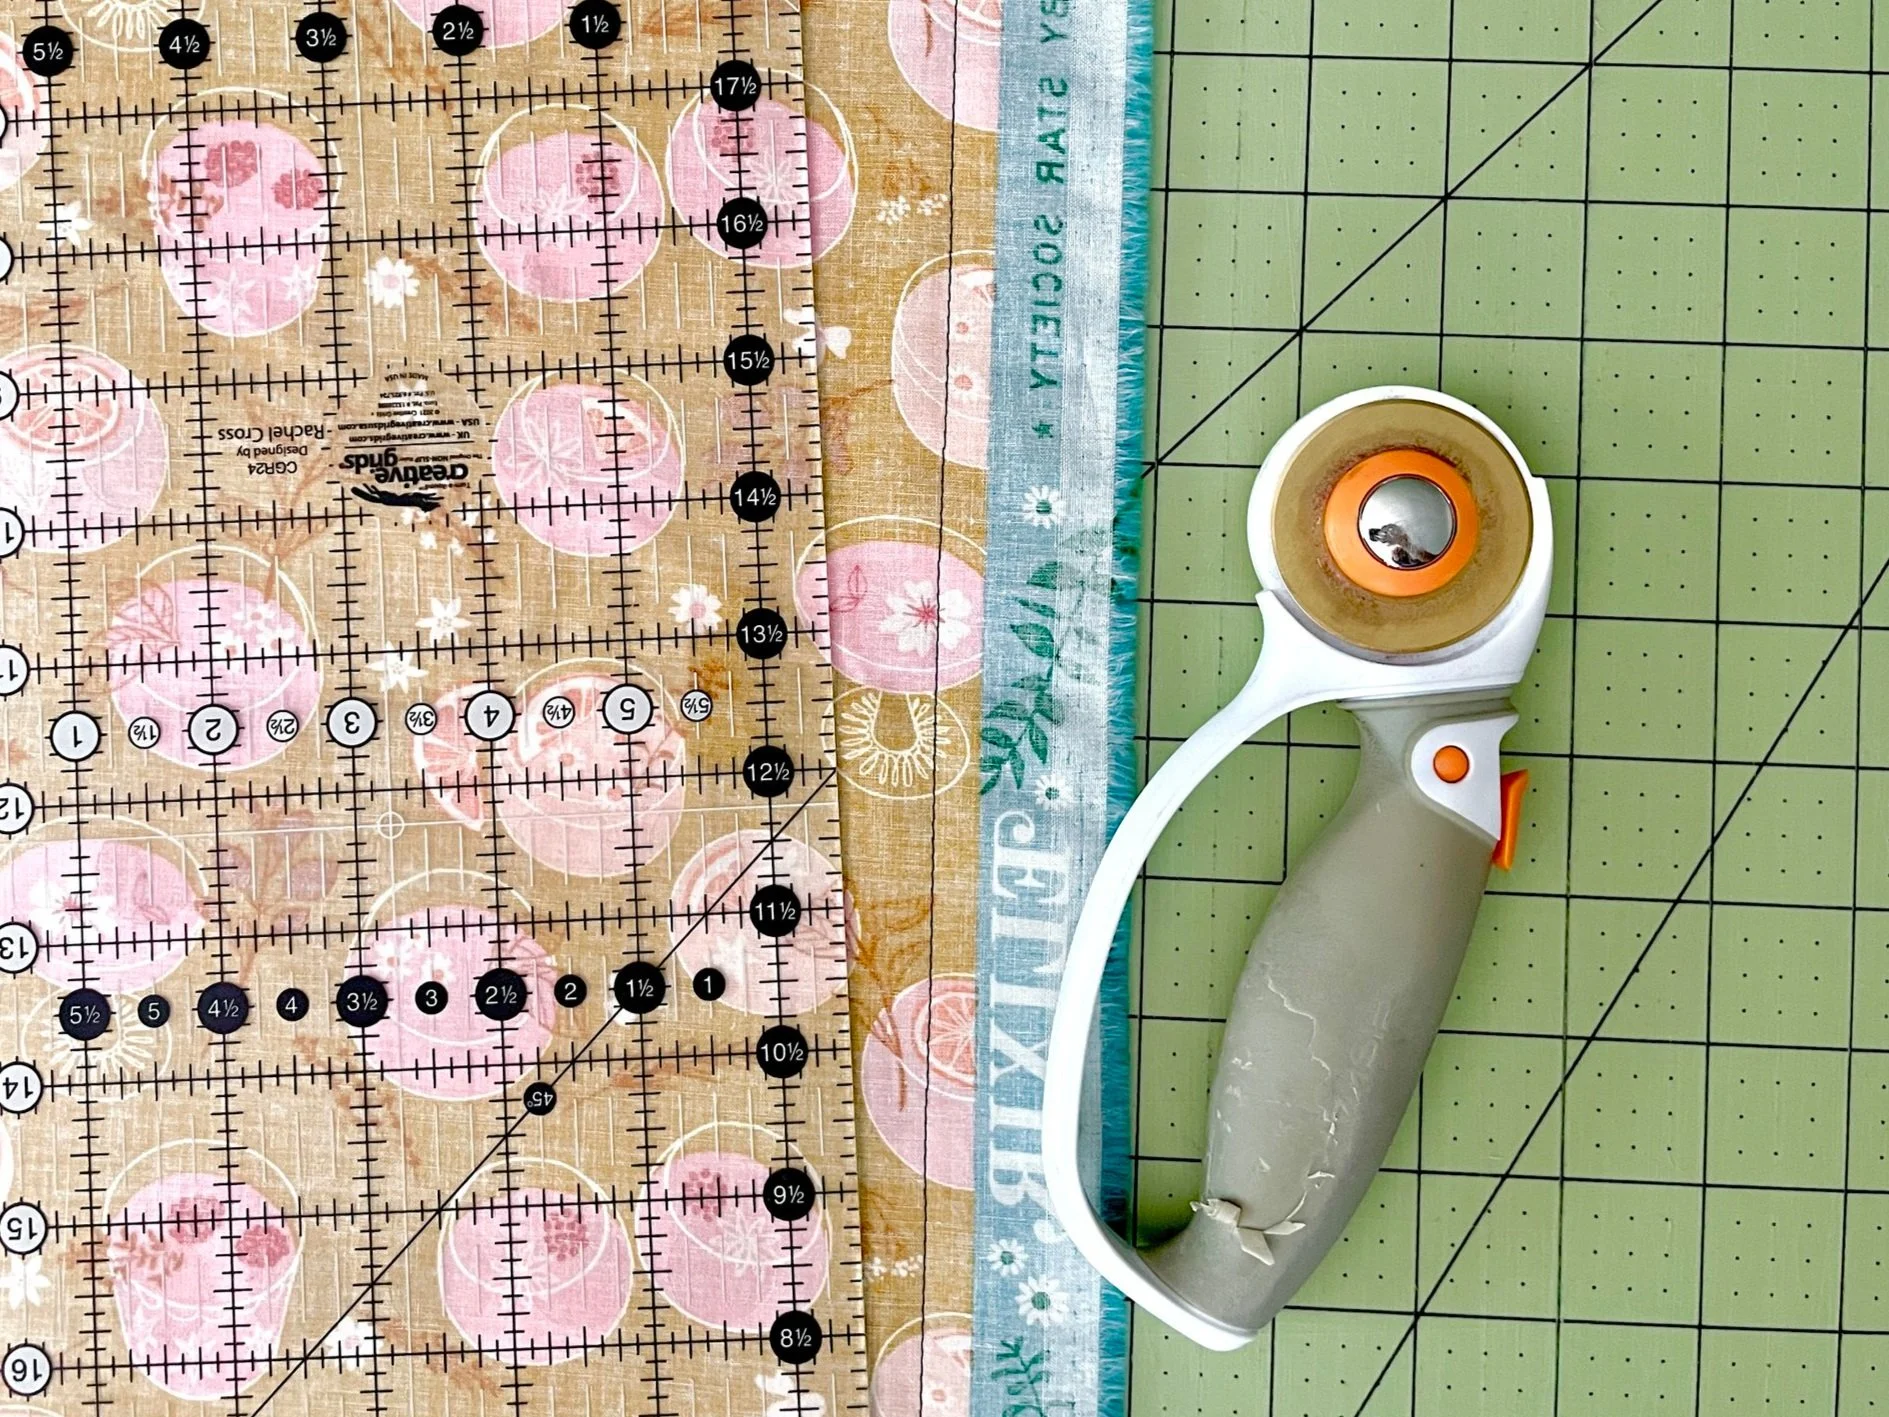
Selvage refers to the tightly woven edges of the fabric that run parallel to the lengthwise grain. These edges give the fabric stability and prevent fraying during and after the weaving process. Quilting cotton prints often have identifying information printed on the selvage such as the fabric collection, designer, and manufacturer. You can find where the selvage starts and stops on fabric by pulling a thread perpendicular to the selvage - where it stops unraveling is where the selvage begins.
When working with quilting fabric, whether or not to trim the selvage depends on the specific project and personal preference. In general, and when in doubt, it is a solid practice to leave the selvage on until you are ready to use it in a project. First, as mentioned above, selvage provides stability and prevents fraying from the fabric. Additionally, the information printed on the selvage may be an important resource when you begin your project. Often I’ve purchased a gorgeous fabric without an immediate project in mind. Once I figure out how to use it I reference the selvage to purchase more or to help guide me in finding coordinating fabrics. It may also be important to know which way the grain runs should you end up using the fabric for clothing or other projects where that information is necessary.

Fabrics in Quilt Tops
In quilting, the standard advice is to trim the selvage on any fabric that will be used in a quilt top when beginning a project, and for good reason. To produce an edge that is stable and doesn’t fray, the weave of the selvage is much tighter than the fabric itself. This weave often distorts the yardage, pulling it tight where the two meet, preventing it from laying flat and smooth. This can affect accuracy in measuring, cutting and sewing. The tightness of the weave can also be problematic when sewing and quilting. It can mess with needles, the timing of your machines and how nicely your project presses and lays.
The difference in weave can also mean a difference in how it shrinks during the washing and drying process, leading to distortion of the finished project. All of this may seem trivial when working with small pieces within a quilt top, but for larger pieces such as borders, sashing, or backings, these elements can become quite obvious and problematic.

Decorative Selvage
With that being said, there are occasions when you might choose not to trim the selvage. In the last handful of years, some of the more modern brands like Art Gallery Fabrics and Ruby Star Society have been producing fabric edges that are decorative and highly coveted to some quilters. This printing crosses over from the tighter weave of the selvage into the fabric itself and until you pull some threads, it’s hard to tell where one ends and the other begins.
While I can’t tell you exactly how different the weave is, I can say I’ve found that there is significantly less distortion of the fabric and no significant difference in how it sews and presses with decorative selvages. I’ve not kept accurate enough notes to make a formal observation on the shrinkage after washing and drying, but anecdotally I’ve not had any of these project stand out to me as problematic like I have with projects that leave in typical selvage. Because of all these elements, it has become trendy and much less risky to leave decorative selvages on the fabrics and incorporate them as purposeful design elements in a quilt top or back.
Backing Fabrics
When I am piecing backings from full uncut yardage, I will sew my seam(s) with the selvage on and trim them off afterwards. That factory edge of the selvage is nice and straight, a great guide for a good seam. When I do this I use a super wide seam allowance, at least an inch, so I have lots of room to trim off the selvage and still have a seam allowance that will lay nice and flat once pressed.
314-742-6060
In those situations where you are using large pieces of quilting cotton yardage for your backing, I recommend an if-then evaluation. If your selvage is significantly tighter than your fabric and prevents if from laying flat, causing puckering or curving, then trim it both from any inside seams as well as from the edges of the backing. Take care to trim those outside edges straight. If your selvage does not visibly distort the fabric when you lay it all out flat, then I recommend trimming it from any interior seams but NOT trimming it from the edges of the backing. This will eliminate any risk of the interior selvages shrinking more than the rest of the backing fabric, but keeps that factory edge which is straight and stable - both helpful things in the longarm process.

Things beyond quilting cottons
Let’s keep in mind that all of the information above focuses on traditional quilting cottons. There are many other substrates out there used in quilting and they will each need to be evaluated differently. Minky, fleece, flannel, wovens, sheets…. We have some additional information listed in our Backing FAQs to help guide you on the more common types of fabric we see.
Between the basic information provided here and all the resources out there ready to be Googled, it shouldn’t be too hard to decide how to handle your fabric’s edges. Enjoy, good luck, and happy sewing!